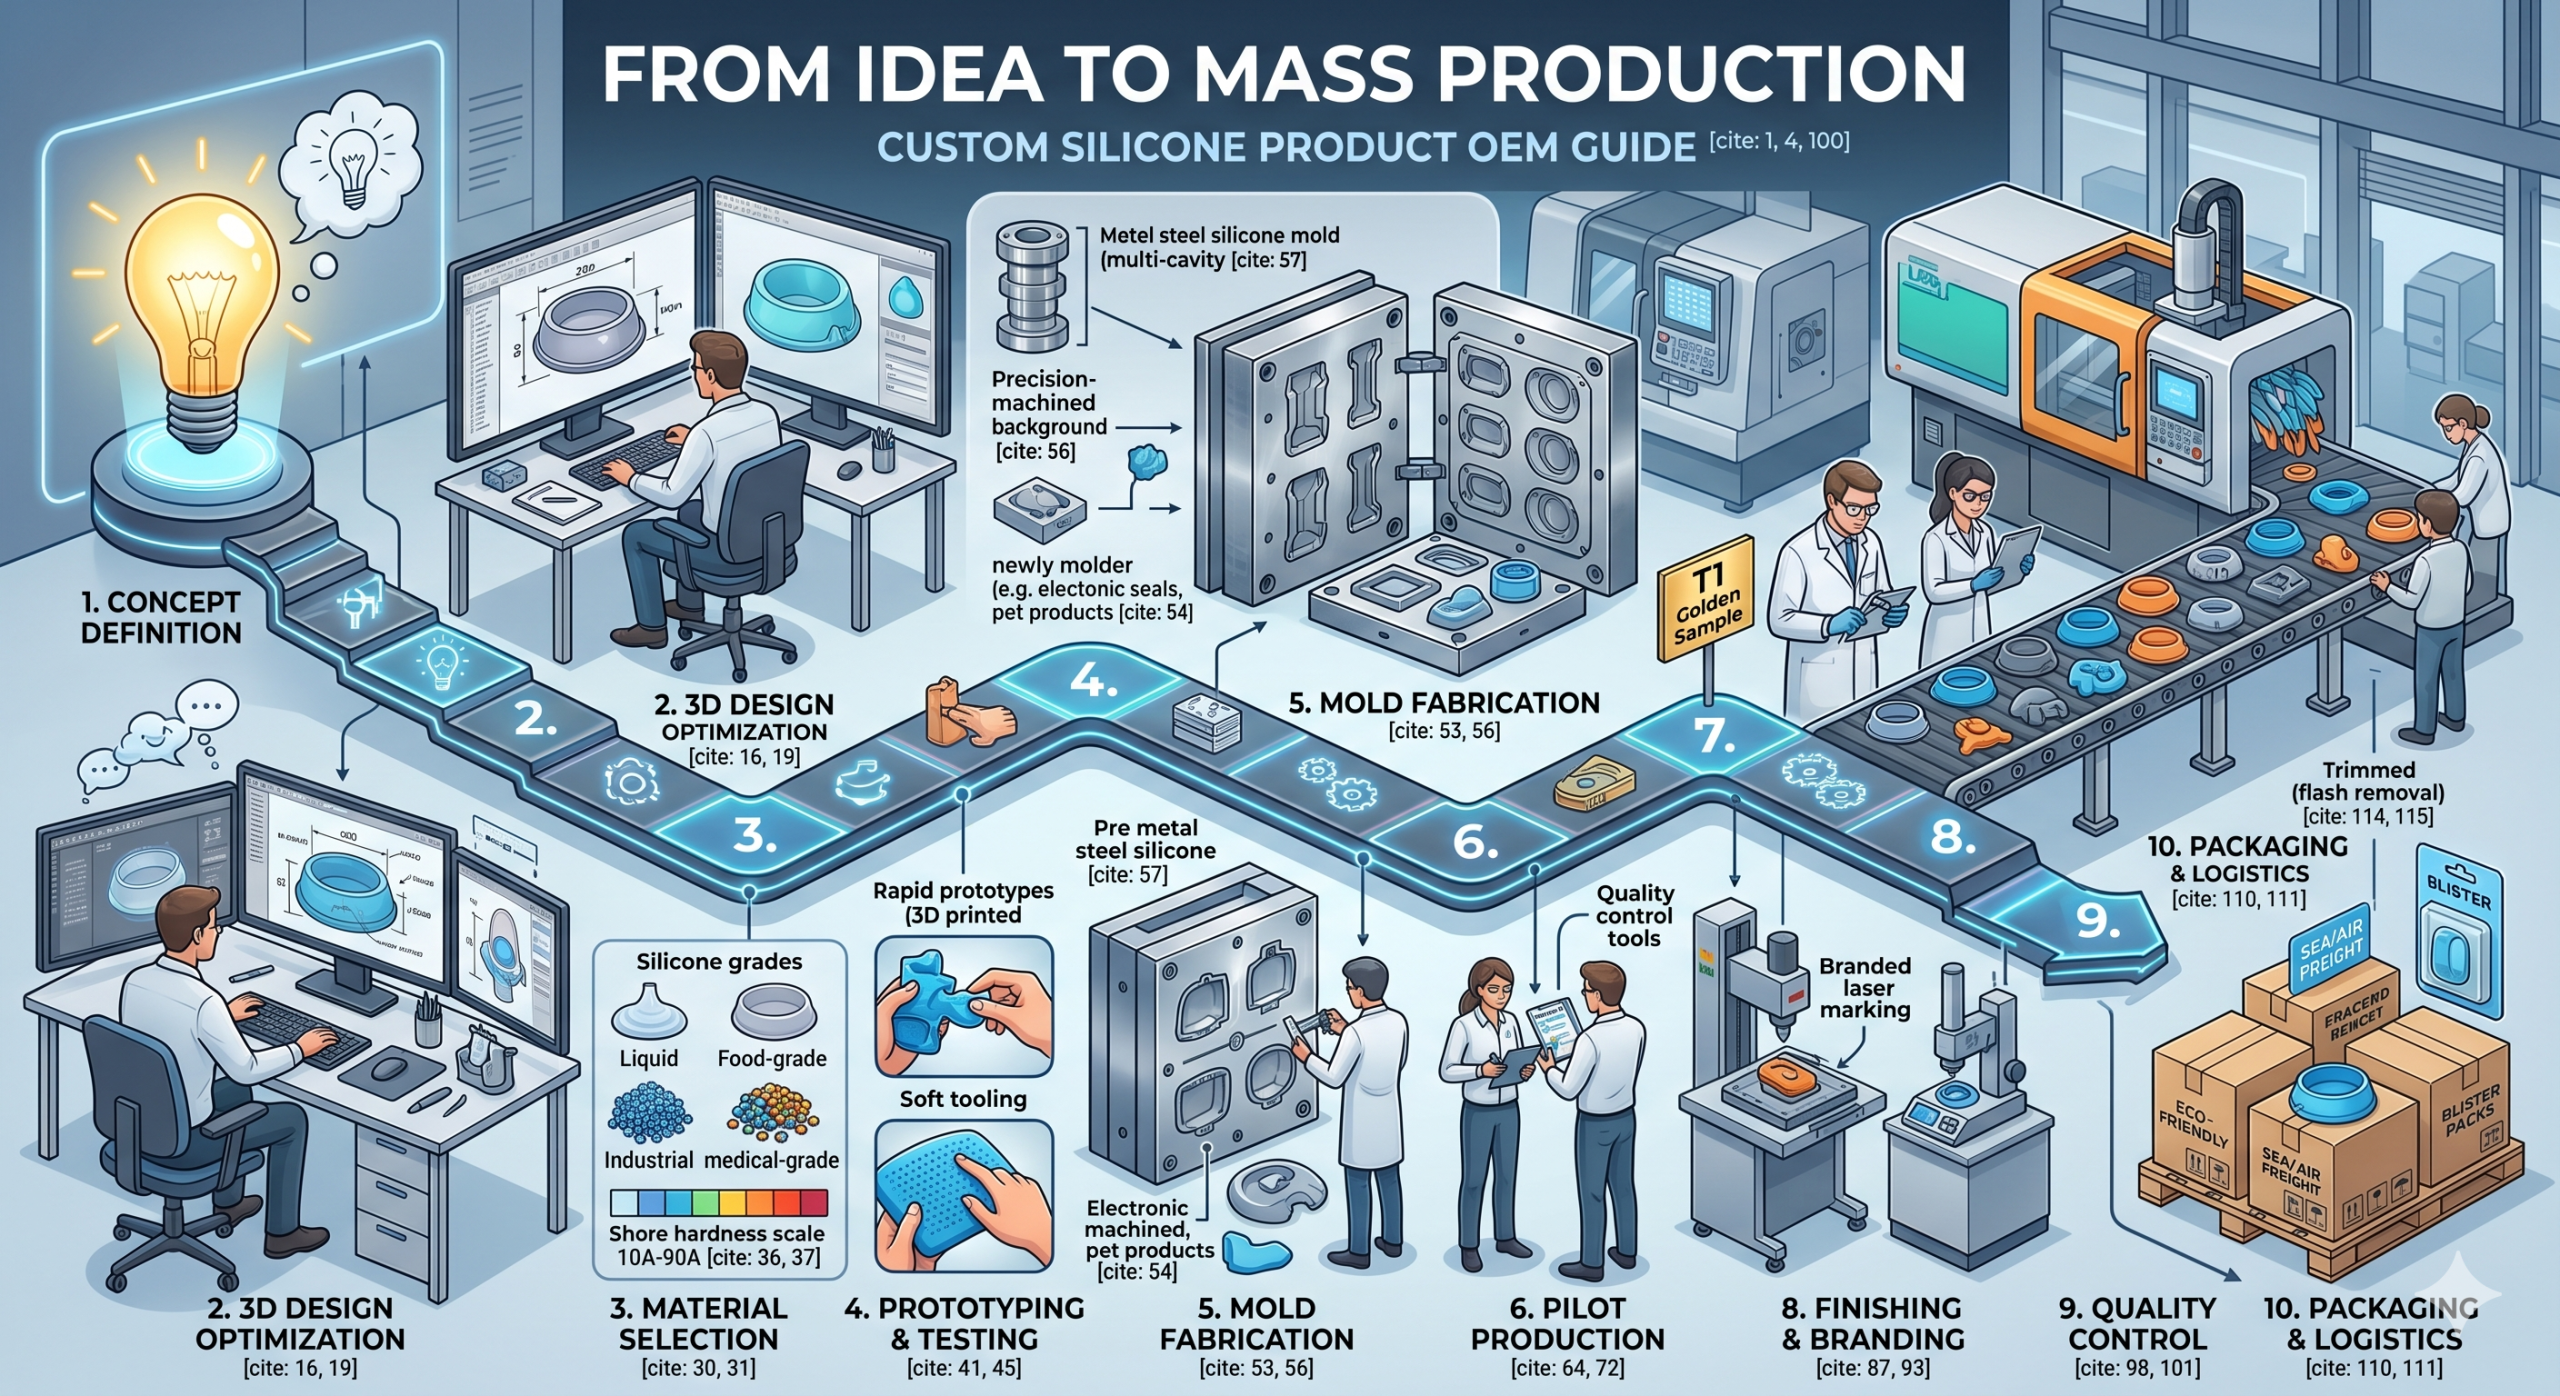
Developing a custom silicone product requires a structured ten-step OEM journey from concept definition to mass production. Many brands face the frustration of high tooling costs and complex design requirements that delay market entry. Without a clear roadmap, you risk manufacturing delays or material failures that waste capital. By choosing our proven framework, you ensure your Silicone Products are delivered with precision and cost-efficiency.
How do you start your custom product idea?
Start your idea by defining functional needs and user problems before creating a Silicone mold to ensure design accuracy. This initial phase is where you transform vision into Silicone Products that meet market demands. You must identify specific environmental factors like heat or chemical resistance to guide later engineering steps.
Identifying Core Functional Needs
You need to specify what the primary use case is and which critical dimensions are non-negotiable. Here is why:
- Environmental factors dictate material choice.
- User touchpoints affect ergonomic design.
- Technical constraints influence the mold layout.
Visualizing Ideas Through Sketches
Think of it this way: a rough sketch is the bridge between a thought and physical reality for your engineering team.
- Collect reference images of existing solutions.
- Map out the assembly parts clearly.
- Define the desired aesthetic finish early.
Key Takeaway: Success starts with a clear concept that defines the product’s purpose and user expectations before any engineering begins.
| Development Phase | Focus Area | Essential Deliverables |
|---|---|---|
| Concept Discovery | User Needs | Functional Requirements Document |
| Visual Mapping | Aesthetics | 2D Sketches and Reference Moodboards |
This structured approach ensures that the engineering team has a solid foundation for the subsequent 3D modeling phase.
How is the 3D design optimized for OEM?
Optimize your 3D design for OEM by applying Design for Manufacturing (DFM) principles to your Silicone mold to prevent production errors. This step involves refining wall thickness and draft angles to facilitate smooth part ejection. You should work closely with engineers to ensure the digital model matches physical manufacturing capabilities.
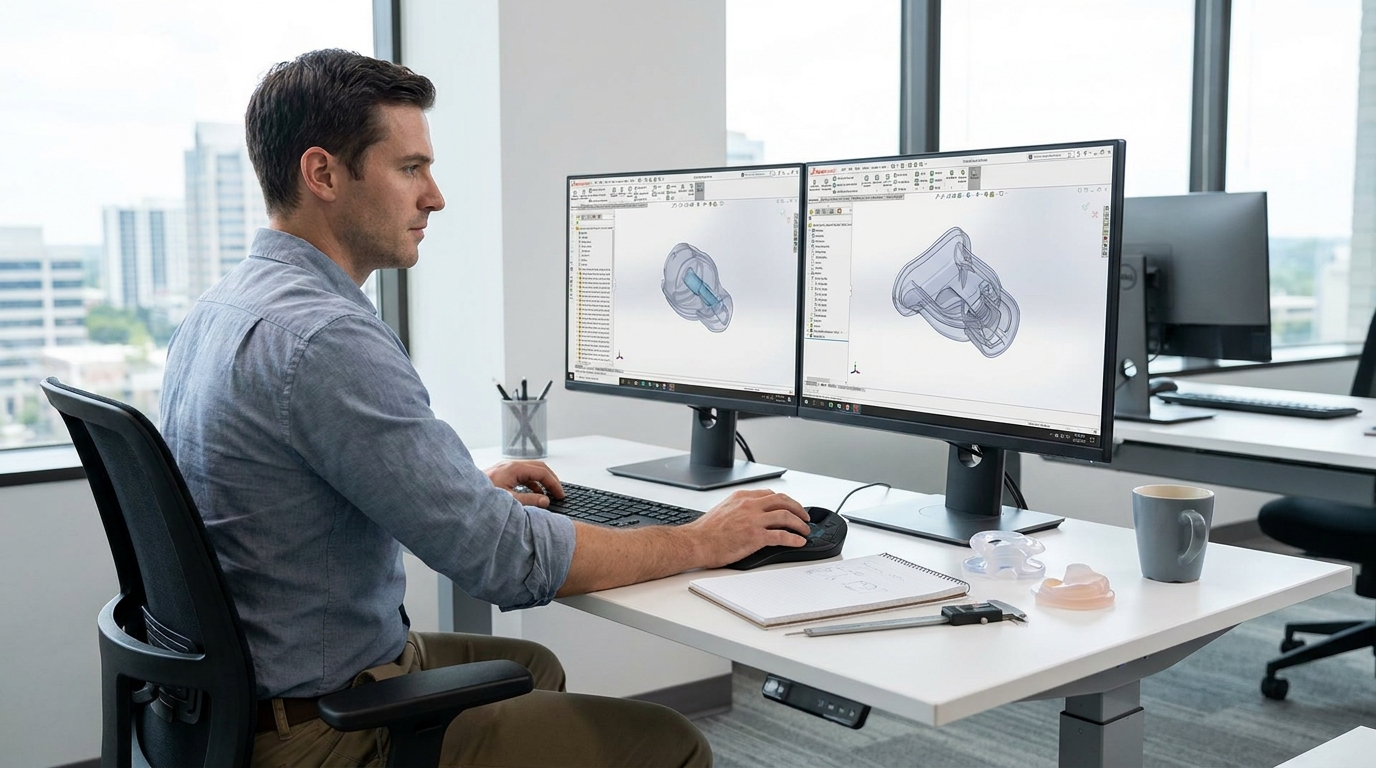
Using CAD Software for Feasibility
You might be wondering why 3D modeling is so critical for complex industrial projects. Here is why:
- It allows for virtual interference testing.
- CAD files are required for CNC mold making.
- Software can simulate silicone flow in cavities.
Applying DFM Guidelines for Silicone
The secret to a low-cost production run is maintaining consistent wall thickness and simplicity in the geometry. But that’s not all.
- Draft angles ensure the part doesn’t stick.
- Uniform thickness prevents air bubbles.
- Minimal undercuts reduce the need for complex inserts.
Key Takeaway: A production-ready 3D design minimizes technical errors and significantly lowers the complexity and cost of the final mold.
| Design Element | Recommended Specification | Impact on Production |
|---|---|---|
| Wall Thickness | 1.0mm to 5.0mm (Uniform) | Prevents warping and air bubbles |
| Draft Angles | 1° to 3° Minimum | Facilitates easy part removal |
Strategic design adjustments at this stage can reduce the final price through significant material and cycle time savings.
How do you choose the right silicone material?
Choosing the right material depends on the product’s intended environment and the specific regulatory requirements of your industry’s Silicone mold setup. We offer specialized medical-grade silicone parts for projects requiring the highest levels of biocompatibility. Selecting high-quality Silicone Products ensures long-term durability and safety for your end-users.
Comparing Industrial and Food Grades
But here is the kicker: not all silicone grades are created equal for consumer applications.
- Food grade is essential for baby care items.
- Industrial grade works for standard seals and sleeves.
- Regulatory compliance avoids costly market recalls.
Hardness and Performance Characteristics
Determining the right durometer is a balancing act between flexibility and the structural rigidity you require. Look at this:
- Shore 10A-30A: Very soft for ear tips.
- Shore 40A-60A: Standard for electronics.
- Shore 70A-90A: High rigidity for structural seals.
Key Takeaway: Matching material properties to the application ensures product longevity and compliance with international safety standards.
| Material Type | Key Property | Common Application |
|---|---|---|
| Liquid Silicone (LSR) | High Precision | Medical valves and complex seals |
| High Consistency (HCR) | Durability | Industrial parts and pet products |
Selecting the correct material grade early prevents regulatory delays and ensures the product performs reliably in the field.
How can prototyping reduce development risk?
Prototyping reduces risk by allowing you to test physical dimensions and user interaction before investing in an expensive production Silicone mold. Testing reveals design flaws that are often invisible on a computer screen. You can verify fitment and feel at a fraction of the full manufacturing cost.
Rapid Prototyping Methods
The truth is, seeing a 3D model isn’t the same as holding the physical product in your hand. Here is why:
- 3D printing is fast for verifying size.
- CNC machining provides realistic tactile feedback.
- Soft tooling allows for actual material testing.
Evaluating the User Experience
Now, let’s look at the functional side of the design from your customer’s perspective. You need to check:
- How the product feels during use.
- If buttons provide a tactile “click.”
- Fitment with mating plastic or metal parts.
Key Takeaway: Prototyping is a low-cost insurance policy that prevents major losses during the expensive tooling phase.
| Prototype Type | Speed | Accuracy |
|---|---|---|
| SLA 3D Print | 1-2 Days | High (Form only) |
| Soft Tooling | 7-10 Days | Highest (Function & Material) |
Utilizing rapid prototyping can shorten the overall development timeline by catching interference issues before the steel mold is cut.
How is a silicone mold developed for production?
Developing a professional Silicone mold involves precision CNC machining and high-quality steel selection to ensure consistent Silicone Products across thousands of units. For complex items like pet products, the mold design must include specialized venting. You should prioritize mold durability to maintain quality throughout high-volume production cycles.
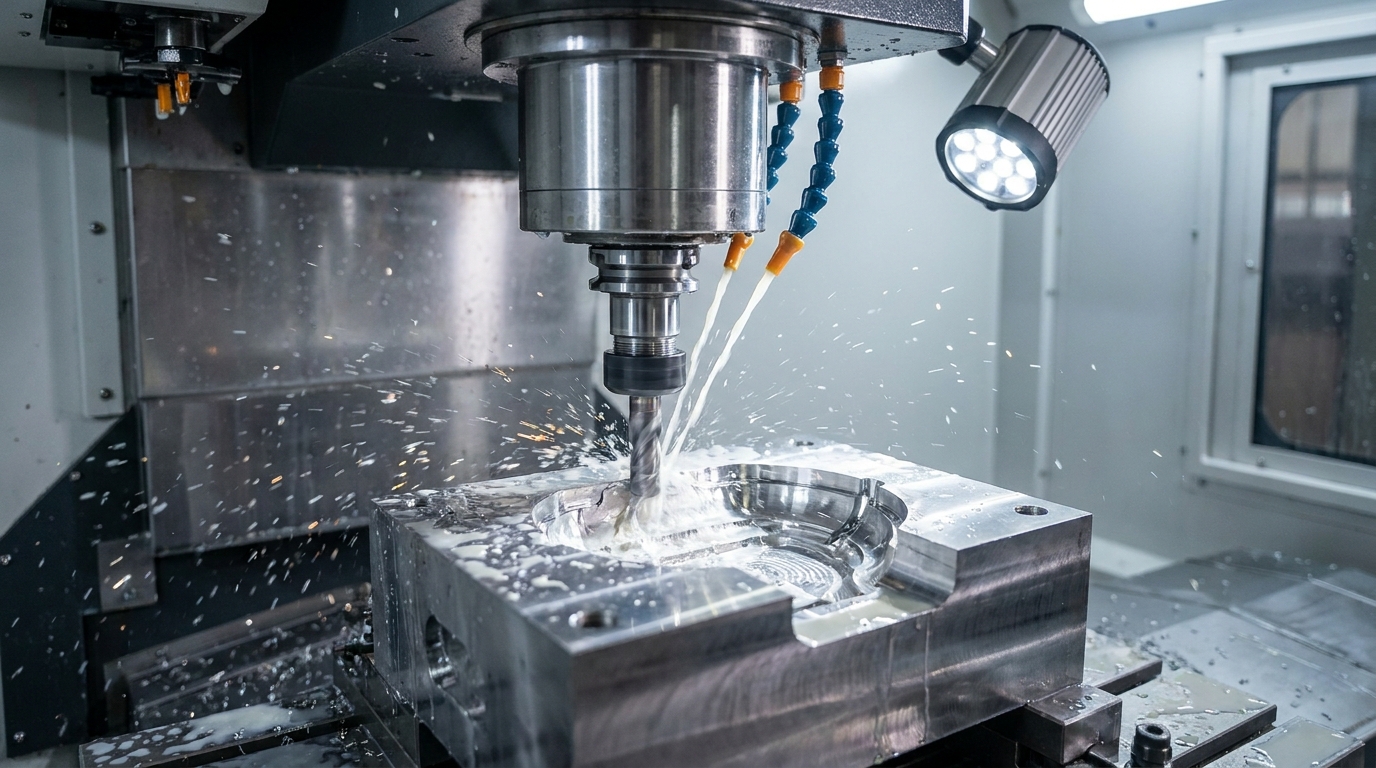
Mold Design and Tooling Construction
You might be wondering what goes into a production-grade tool for your business. But that’s not all.
- Steel grades like S136 provide durability.
- Multi-cavity molds reduce unit costs.
- Precision gates ensure clean part finishing.
Achieving Specific Surface Finishes
The surface of the mold determines the “look and feel” of the silicone part you deliver. Here is why it matters:
- Matte finishes hide fingerprints.
- Gloss finishes are best for transparency.
- Textures provide non-slip grip properties.
Key Takeaway: The quality of the mold is the single most important factor in determining the final quality and rejection rate of your product.
| Mold Feature | Purpose | Impact on Part |
|---|---|---|
| Venting Channels | Air Escape | Prevents “burn marks” and bubbles |
| Chrome Plating | Surface Protection | Increases mold life and part shine |
Investment in high-quality steel and precision machining for the mold pays for itself through lower defect rates during mass production.
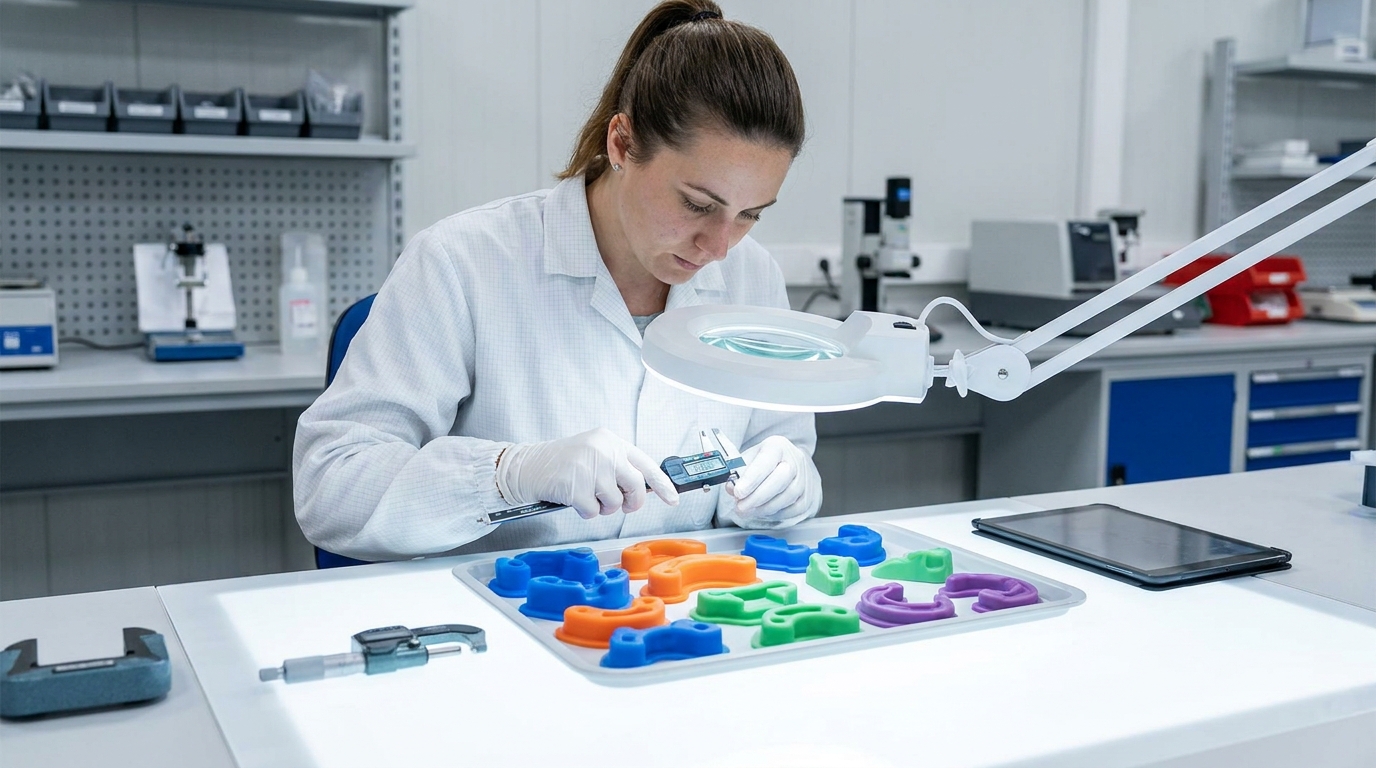
How do you validate the pilot production run?
Validate the pilot run by using the first parts pulled from the Silicone mold to verify dimensional accuracy and material performance. This step ensures that every part meets engineering specifications before you authorize full-scale manufacturing. You must compare these samples against your original CAD models to check for shrinkage variations.
Testing Dimensional Accuracy
Think of the pilot run as a “dress rehearsal” for the main event in the factory. You should do this:
- Use calipers to check critical dimensions.
- Perform assembly tests with mating parts.
- Verify that tolerances are within acceptable limits.
Correcting Tooling Defects
What if the sample isn’t perfect? You don’t have to worry because this is the time for final tuning.
- Adjust gates if flow marks appear.
- Modify the cavity for tighter tolerances.
- Fine-tune textures for brand standards.
Key Takeaway: Pilot production allows for the calibration of manufacturing parameters to ensure a “golden sample” is achieved.
| Validation Step | Action | Success Metric |
|---|---|---|
| T1 Sampling | First mold trial | 95% Dimensional alignment |
| T2 Sampling | Final adjustments | Approved “Golden Sample” |
Rigorous validation at this stage ensures that mass production can proceed without unexpected interruptions or quality failures.
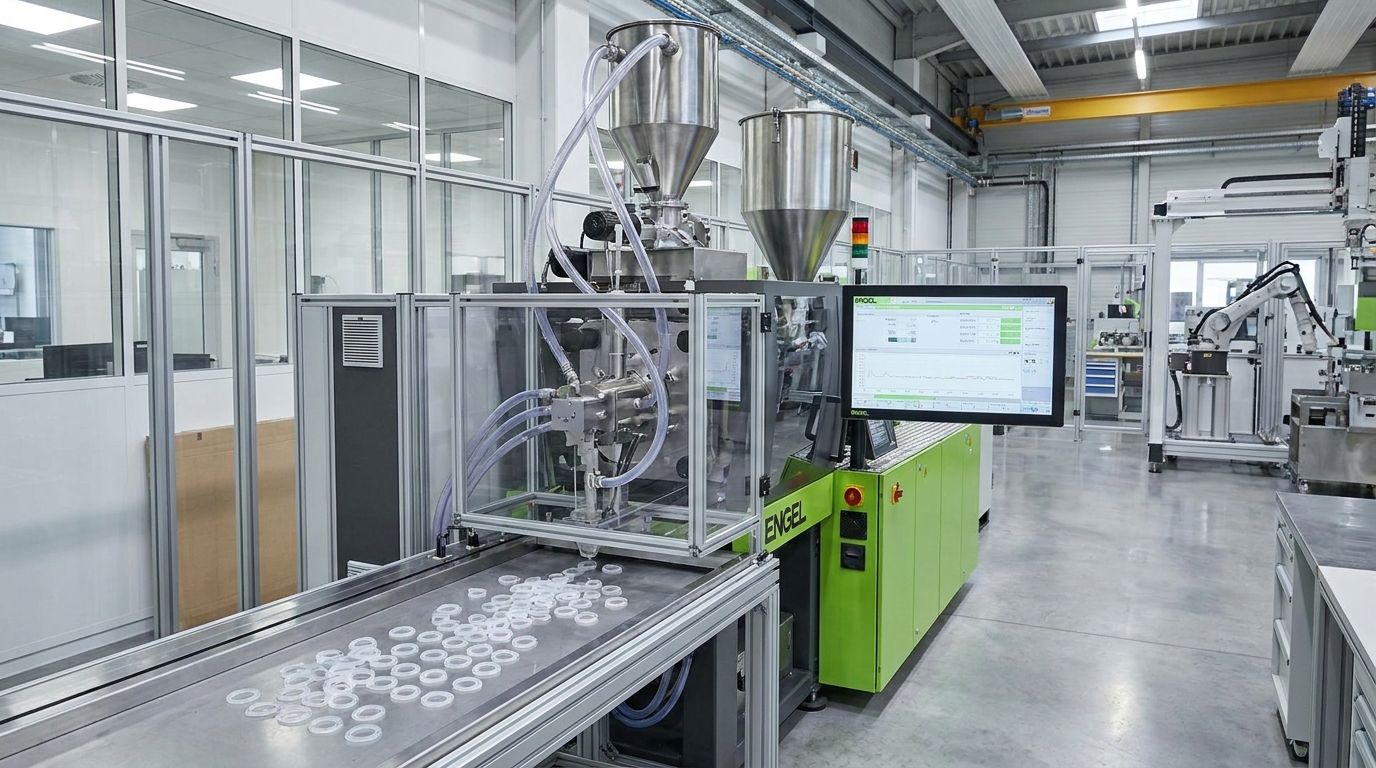
How does mass production maintain quality?
Maintaining quality in mass production requires a stable Silicone mold process and strict cleanroom protocols for delicate Silicone Products. Whether using compression or liquid injection molding, consistency is achieved through automated controls. For sensitive baby care items, a controlled environment is non-negotiable for safety.
Benefits of Compression Molding
Here is why most OEM projects start with compression molding for initial batches. It’s quite simple:
- Tooling costs are significantly lower.
- It is effective for thick, simple parts.
- Material color changes are very easy.
Scaling with LSR Technology
When your volume exceeds 100k units, Liquid Silicone Rubber (LSR) becomes the preferred choice. But that’s not all.
- Fully automated processes reduce labor.
- Flash-less technology ensures clean edges.
- Superior precision for complex industrial seals.
Key Takeaway: Choosing the right manufacturing method depends on your balance of upfront tooling budget versus long-term unit cost.
| Process | Best Volume | Precision Level |
|---|---|---|
| Compression | 500 – 20,000 | Standard |
| LSR Injection | 50,000+ | Very High |
Selecting the manufacturing route based on projected volume prevents over-investment in tooling while maintaining competitive unit pricing.
How are secondary processes performed?
Secondary processes like trimming and printing are performed after the parts leave the Silicone mold to ensure they are retail-ready. These operations add value and brand recognition to your product line. You can choose from various finishing techniques to improve both aesthetics and functionality.
Trimming and Surface Finishing
Most molded silicone has a small amount of “flash” at the parting line that you must remove. Look at this:
- Manual trimming for high precision.
- Cryogenic deflashing for high volume.
- Surface coatings for dust resistance.
Branding and Laser Marking
How do you make your product stand out in a crowded market? But that’s not all.
- Silk screen printing for colorful logos.
- Pad printing for irregular surfaces.
- Laser engraving for permanent marking.
Key Takeaway: Secondary processes transform a raw molded part into a professional, branded consumer product.
| Post-Processing | Benefit | Ideal For |
|---|---|---|
| Oil Spraying | Dust Resistance | Phone cases & Wearables |
| Laser Marking | High Durability | Serial numbers & Logos |
Integrated secondary operations reduce lead times by keeping all branding and finishing steps under one roof.
How is final quality control managed?
Manage quality control through a three-stage inspection protocol to ensure every part from the Silicone mold is defect-free. Our about page details our ISO-certified systems designed to protect your brand reputation. Delivering high-quality Silicone Products is the final step in securing long-term customer trust.
Three-Stage Inspection Process
We don’t just check at the end; we check every step of the manufacturing journey. Here is why:
- IQC verifies raw material purity.
- IPQC monitors the molding cycles.
- FQC provides 100% visual inspection.
Functional Reliability Testing
Beyond looks, the product you receive must actually work in the field. You need to know:
- Does it pass stretch testing?
- Can it handle compression sets?
- Does it resist accelerated aging?
Key Takeaway: A robust QC system acts as the final gatekeeper, ensuring that only perfect products reach your customers.
| QC Level | Inspection Method | Key Metric |
|---|---|---|
| Visual | 100% Manual/Optical | Zero surface defects |
| Mechanical | Pull/Stretch Test | No material failure |
Standardized inspection protocols minimize the risk of expensive product recalls and build long-term consumer trust.
How do you manage packaging and logistics?
Manage packaging and logistics by coordinating custom retail solutions and global shipments from the Silicone mold facility to your warehouse. Proper protection prevents parts from deforming during transit across different climates. You should balance speed and cost when choosing between air and sea freight options.
Custom Packaging Solutions
You only get one chance to make a first impression on your customers. Here is why:
- Blister packs protect retail items.
- OPP bags are cost-effective for parts.
- Eco-friendly boxes appeal to modern brands.
Global Shipping Strategies
Timing is everything in the competitive world of OEM manufacturing today. Look at this:
- Air Freight for urgent launches.
- Sea Freight for bulk savings.
- Express for sample deliveries.
Key Takeaway: Efficient logistics and professional packaging ensure your product arrives safely and is ready for immediate sale.
| Shipping Mode | Cost | Lead Time |
|---|---|---|
| Courier (FedEx/UPS) | High | 3-5 Days |
| Sea Freight | Low | 30+ Days |
A well-planned logistics strategy balances speed and cost, helping you maintain a healthy profit margin while meeting market demand.
FAQ
Can I use the same mold for different colors of silicone?
Yes, once a mold is cleaned, you can inject or compress different colors of the same material grade without needing new tooling. This allows you to offer product variety to your customers with minimal investment.
What’s the best way to reduce the initial tooling cost?
The best way is to simplify the product design by removing undercuts and using a single-cavity mold during the initial market testing phase. Smaller molds require less steel and less CNC machining time.
Can I get a prototype made from actual food-grade silicone?
Yes, using soft-tooling or CNC-machined silicone slabs, we can create prototypes that have the exact physical properties of the final production units. This is critical for testing performance in real-world scenarios.
How do I know if I need LSR or compression molding?
Generally, LSR is best for high-volume, precision parts, while compression molding is ideal for simpler designs and lower production budgets. We can provide a DFM review to help you choose the right path.
How do I know if my design is ready for mass production?
A design is ready once you have successfully validated a pilot run and achieved a “golden sample” that meets all tolerances. Our engineers will assist you in this final approval process.
Conclusion
Developing a custom silicone product is a complex journey that requires expert guidance to navigate. This guide has shown you how to bridge the gap between a concept and a market-ready product through structured design, material selection, and precision manufacturing. By following these steps, we solve the common problems of high costs and quality drift that plague many OEM projects. If you are ready to bring your vision to life with a reliable partner, contact us today to start your project.