Understanding the transition from concept to manufacturing requires a strategic choice between temporary prototype molds and permanent production tooling to ensure market success. Launching a new product often feels like a high-stakes gamble because significant upfront investments collide with the risk of unrefined designs. Choosing the wrong tooling approach can lead to catastrophic delays, wasted budgets on fragile molds, and inconsistent part quality that fails industrial standards. Our silicone manufacturing expertise provides a clear roadmap to optimize your development timeline and scale your vision with absolute confidence.
Why is tooling vital in silicone manufacturing?
Tooling is the essential foundation that dictates the dimensional accuracy, surface finish, and unit cost of every part you produce. Strategic investments in silicone manufacturing tooling allow you to control batch-to-batch consistency while minimizing material waste during the molding process.
Managing project costs and timelines
But wait: if you jump straight to high-volume molds without testing, your financial risk increases exponentially. Balancing initial mold expense against long-term part price is the key to a healthy project budget.
- Prototype molds offer low entry costs for testing.
- Production molds reduce the per-part price over time.
- Bridge tooling helps fill the gap during scale-up.
Ensuring product quality and consistency
Look: without a precise tool, your parts will suffer from dimensional drift and functional failures in the field. High-quality tooling ensures that the first part is identical to the millionth part.
Key Takeaway: Correct tooling selection early in the design phase prevents expensive rework and ensures your product meets all functional specifications.
| Tooling Type | Best For | Cost Level | Lead Time |
|---|---|---|---|
| Prototype | Design Validation | Low | 1-2 Weeks |
| Production | Mass Manufacturing | High | 4-6 Weeks |
Selecting the appropriate tool type aligns your capital expenditure with the current stage of your product’s lifecycle.
What exactly is silicone manufacturing tooling?
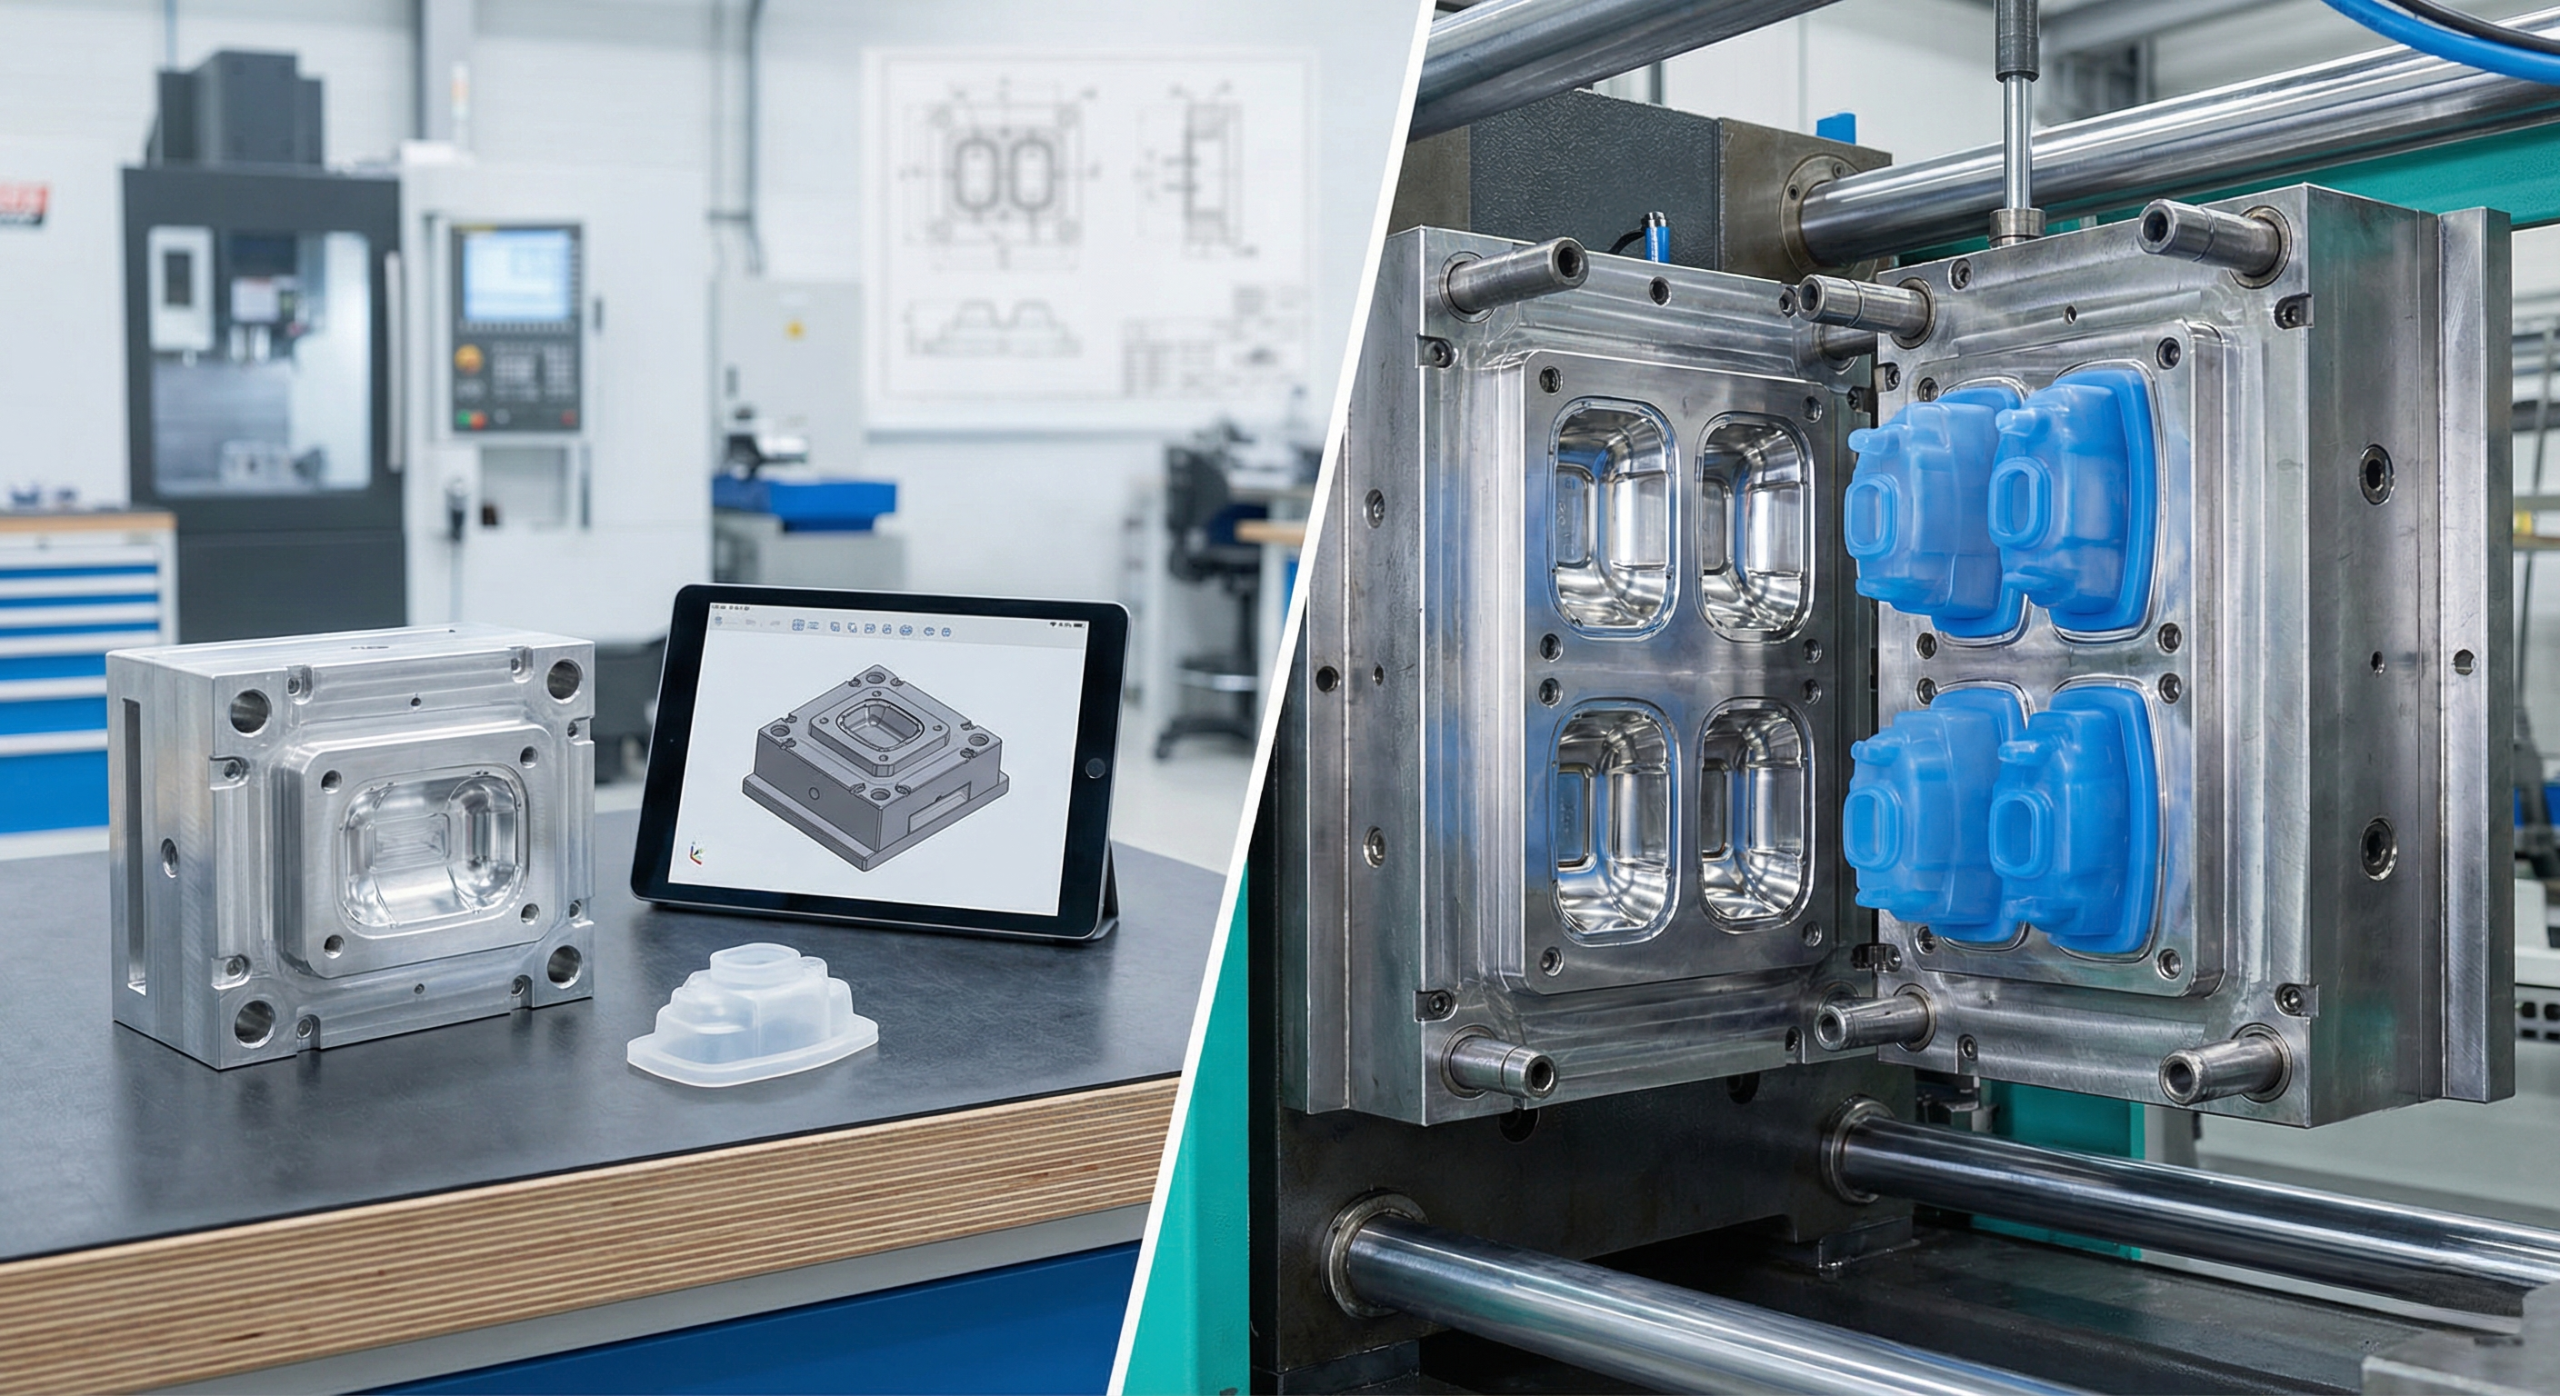
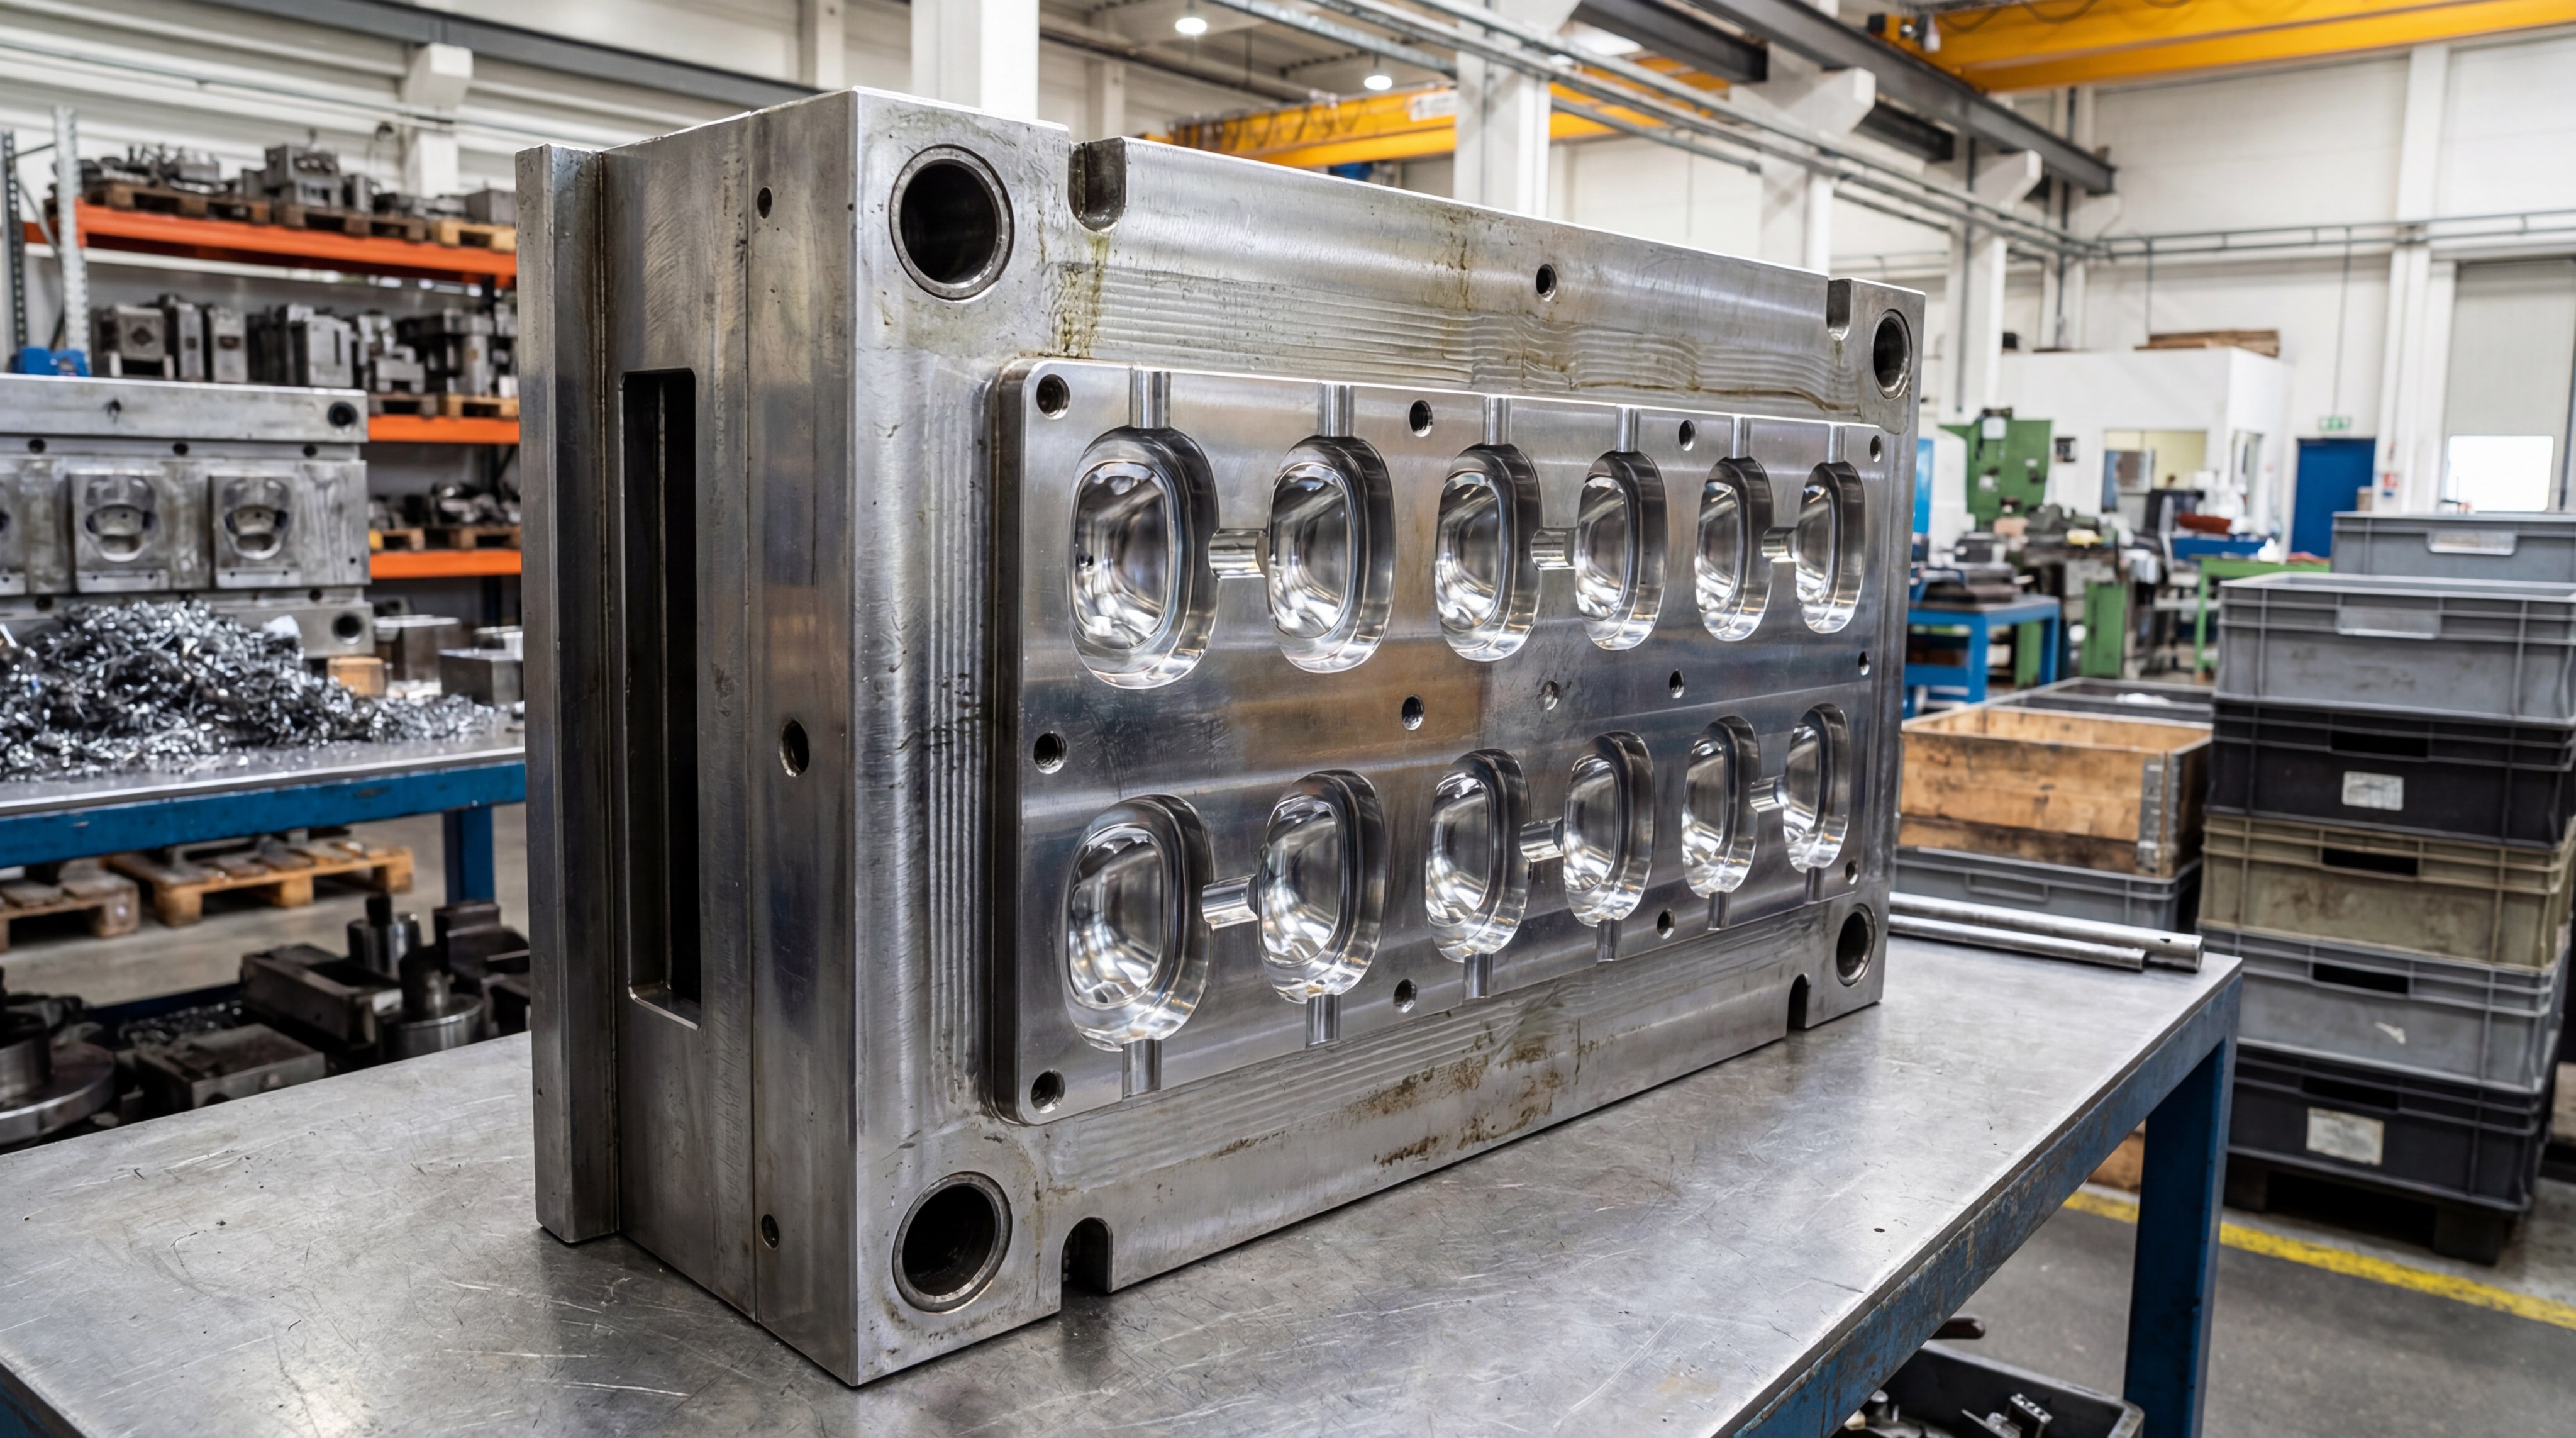
Silicone manufacturing tooling consists of custom-engineered metal forms designed to withstand high pressure and temperature while shaping raw silicone into finished parts. These tools are precision-machined to account for the unique flow characteristics and thermal expansion of silicone manufacturing materials.
Defining custom-engineered metal forms
Here is the deal: the “mold” is actually a complex assembly of plates, cores, and cavities designed for a specific material. These forms are typically made from aluminum or steel depending on the expected volume.
- A-Plate and B-Plate for cavity separation.
- Ejector systems for part removal.
- Cooling channels for thermal regulation.
Understanding the role of heat and pressure
The tool must handle intense clamping forces and heat to vulcanize the silicone effectively. Without robust engineering, the mold can warp or leak, leading to defective “flashing” on your parts.
Key Takeaway: Professional tooling is a high-pressure vessel that must maintain its shape under extreme manufacturing conditions to produce precise parts.
| Component | Function | Material |
|---|---|---|
| Cavity | Defines external shape | Steel / Aluminum |
| Core | Defines internal geometry | Hardened Steel |
| Gate | Directs material flow | Hardened Steel |
The structural integrity of the mold is the primary factor in determining the final quality of the silicone component.
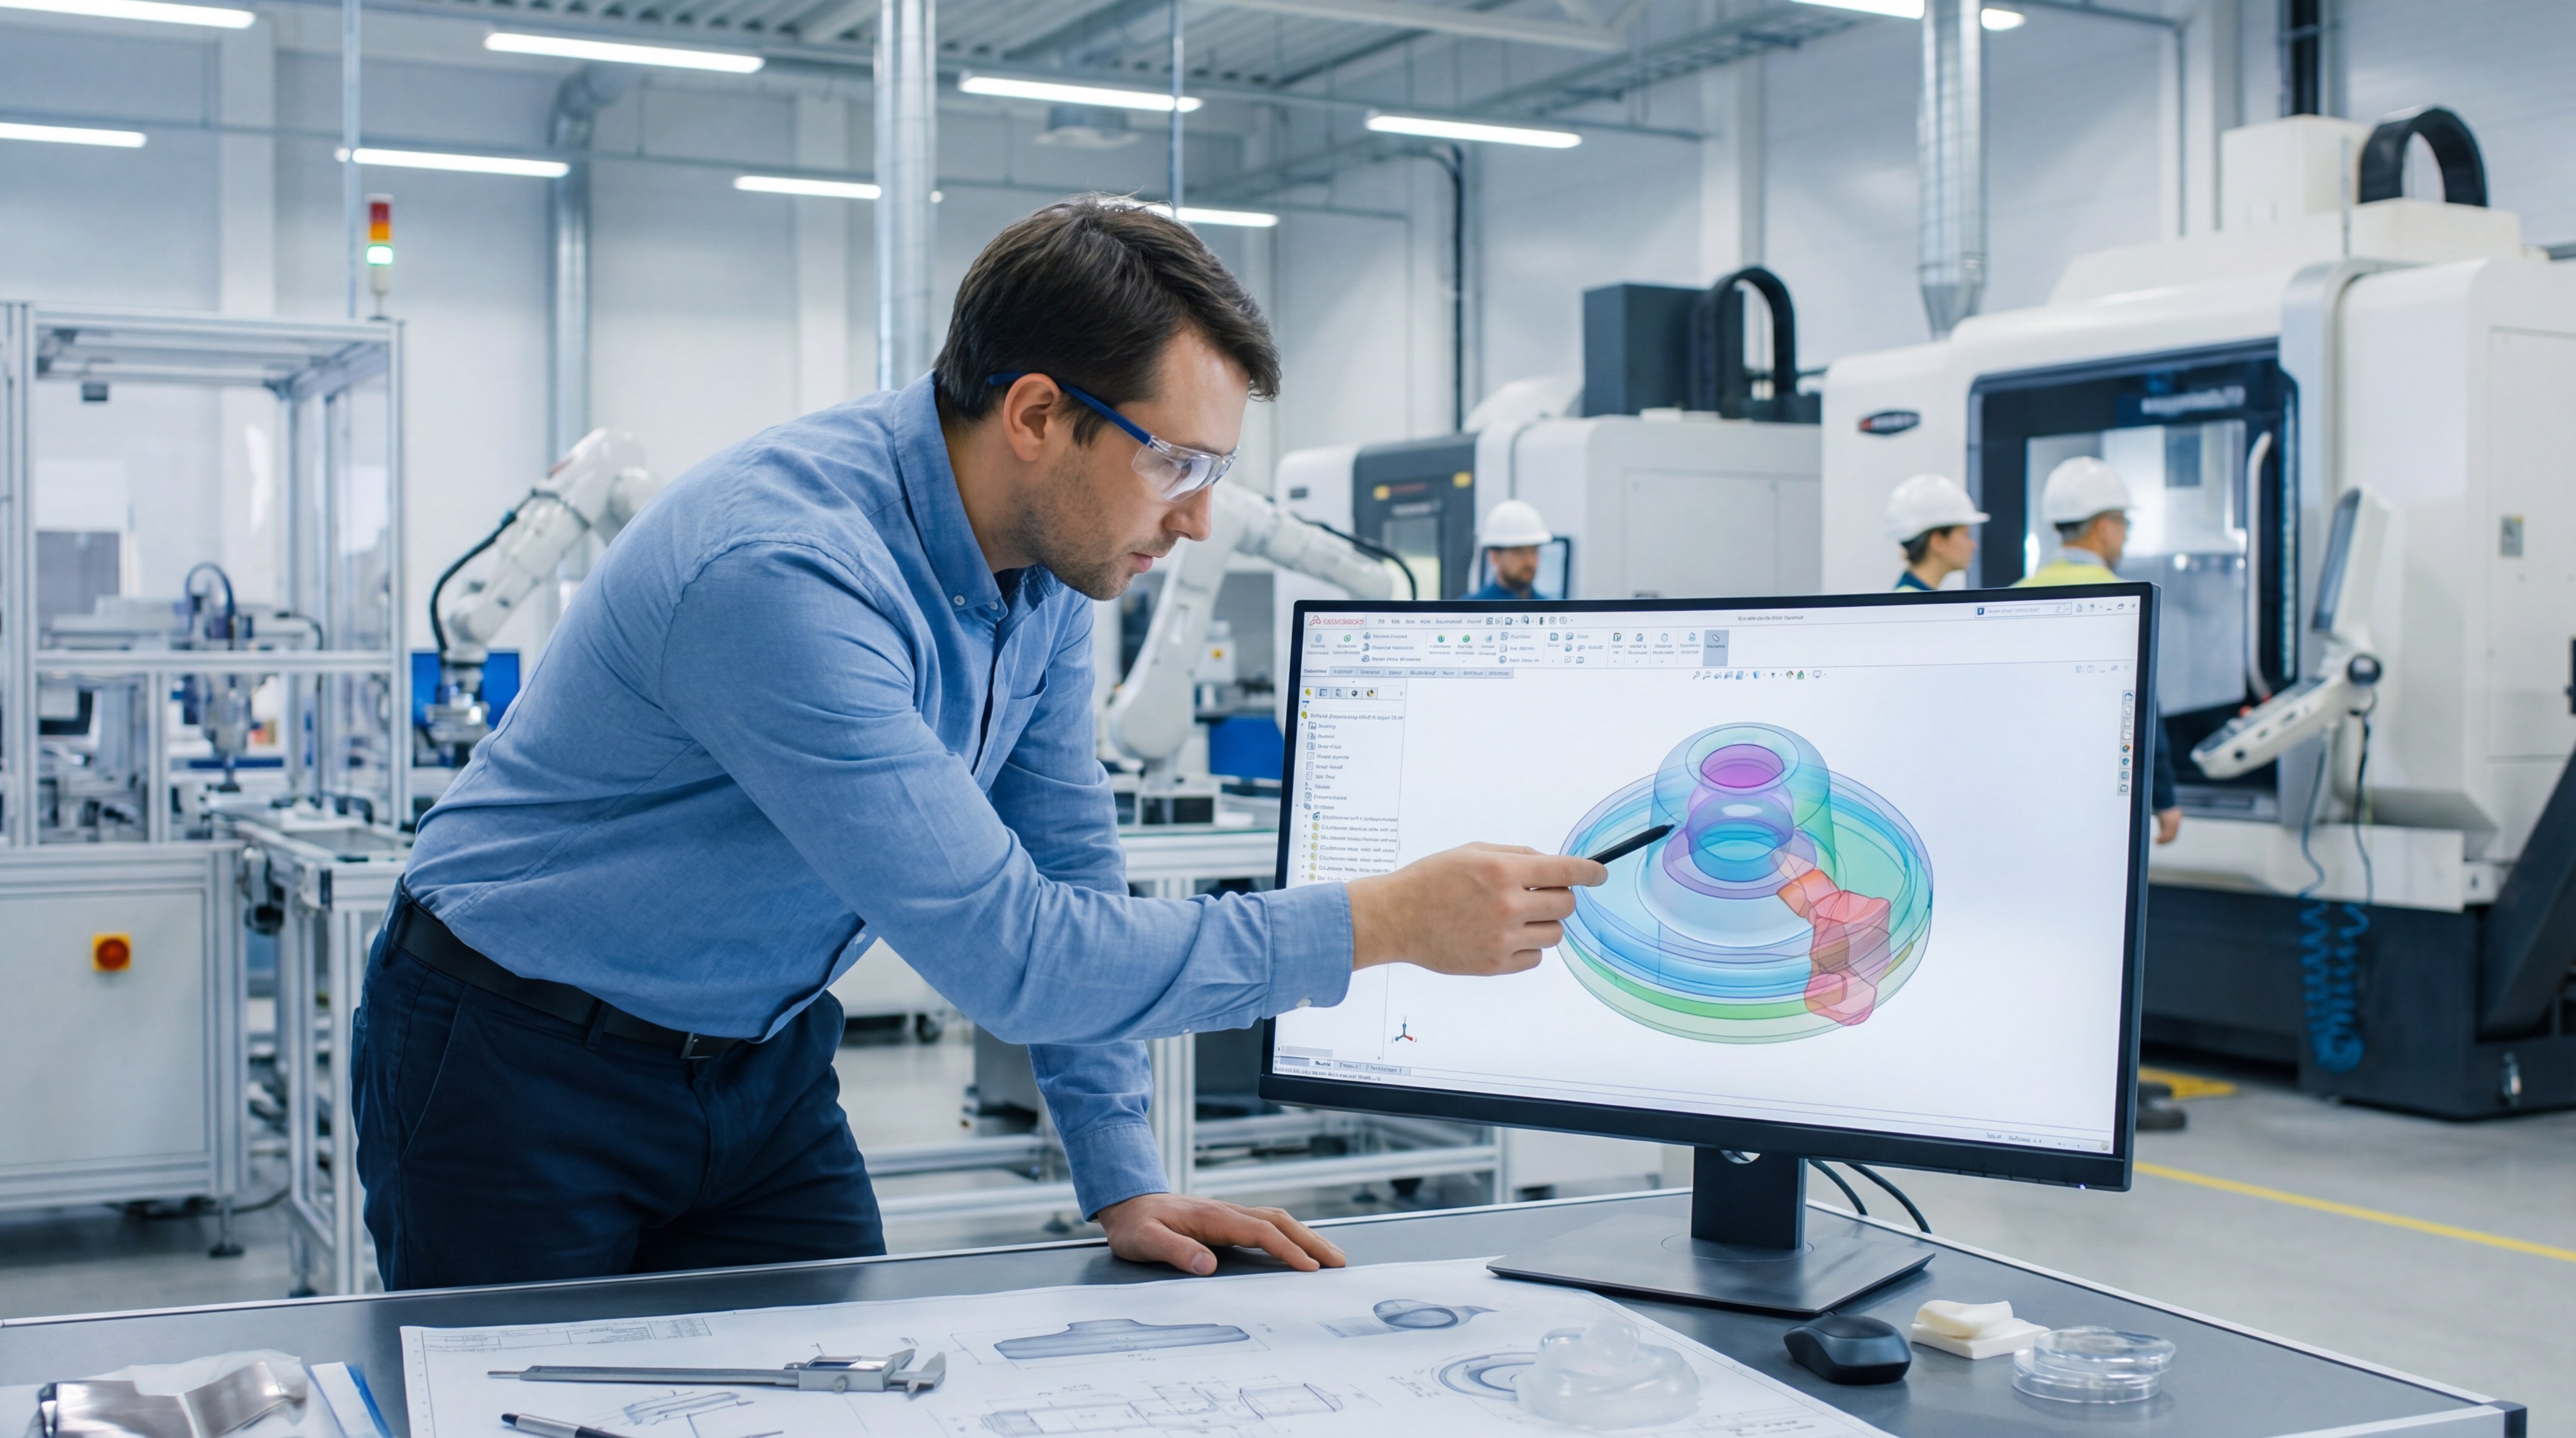
How does CAD design impact silicone manufacturing?
CAD design acts as the digital blueprint that translates your creative concept into a functional, manufacturable tool. During silicone manufacturing, the 3D model is used to simulate material flow and identify potential air traps before any metal is cut.
Validating geometry and material shrinkage
You should know: silicone shrinks significantly as it cools, so your tool must be machined slightly larger than the target part. CAD software calculates these precise offsets based on the specific material grade you choose.
- Shrinkage rates typically range from 1% to 4%.
- Draft angles assist in easy part ejection.
- Wall thickness analysis prevents sink marks.
Specifying parting lines and injection points
The best part? CAD allows you to strategically place the parting line to hide unsightly seams on your product. You can also optimize the injection gate location to ensure a balanced fill of the cavity.
Key Takeaway: Rigorous CAD analysis identifies design flaws digitally, saving you thousands of dollars in physical tool modifications.
| Design Phase | Tooling Impact | Software Goal |
|---|---|---|
| 3D Modeling | Shape Definition | Geometrical Accuracy |
| DFM Review | Tooling Feasibility | Moldability Optimization |
| Flow Simulation | Injection Planning | Filling Pattern Analysis |
Digital validation is the most cost-effective way to ensure your design is ready for physical production.
When should you use prototype tooling?
Prototype tooling is the ideal choice when you need to test functional designs or produce small batches for market validation. This phase of silicone manufacturing allows for rapid design iterations without the massive financial commitment of permanent steel molds.
Rapid testing and design flexibility
Look: if your design isn’t 100% final, prototype tools allow you to make changes quickly and affordably. They are usually made from softer metals that are easier to modify than hardened production steel.
- Lower cost than multi-cavity tools.
- Faster turnaround times for samples.
- Ability to test multiple material durometers.
Evaluating material flow and venting
Here is the deal: prototype tools reveal how the silicone will actually behave in a real-world molding environment. You can see where air traps occur and adjust venting before investing in expensive production equipment.
Key Takeaway: Use prototype tooling to “fail fast” and refine your product until it is perfectly ready for high-volume scale.
| Feature | Prototype Tooling | Benefit |
|---|---|---|
| Material | Aluminum / Soft Steel | Lower cost, faster machining |
| Lifespan | 50 – 500 cycles | Perfect for testing phases |
| Complexity | Single cavity | Simplifies initial validation |
Prototyping mitigates the risk of launching a flawed design that could ruin your brand’s reputation.
What makes production tooling durable?
Production tooling is engineered for longevity and high-volume efficiency, often utilizing hardened steel to endure hundreds of thousands of cycles. In the world of silicone manufacturing, durability is synonymous with long-term ROI and consistent part tolerances.
Engineering for high-volume longevity
But wait: cheap tools will fail after a few thousand shots, leading to downtime and lost revenue. Production tools use premium materials like H13 steel to resist the abrasive nature of some silicone additives.
- Heat-treated components for hardness.
- Corrosion-resistant plating options.
- Replaceable wear inserts for maintenance.
Multi-cavity capabilities for efficiency
The real secret: production tools often feature multiple cavities, allowing you to produce 2, 4, or even 64 parts in a single machine cycle. This drastically reduces your labor costs and increases your speed to market.
Key Takeaway: Hardened steel production tools are an investment in stability, ensuring your supply chain remains uninterrupted for years.
| Metric | Production Tooling | Result |
|---|---|---|
| Life Cycles | 100,000 – 1,000,000 | Massive scale potential |
| Number of Cavities | Multiple (2 – 64+) | Lowest per-unit cost |
| Maintenance | High precision / Regular | Guaranteed consistency |
Investing in high-grade production tooling is the most effective way to protect your long-term manufacturing margins.
How do you select materials for silicone manufacturing?
Selecting the right metal for your tool depends entirely on your production volume, part complexity, and budget. Different metals in silicone manufacturing offer varying levels of thermal conductivity and wear resistance.
Aluminum vs. tool steel selection logic
Here is the deal: aluminum is fantastic for prototypes due to its fast machining speed and excellent heat dissipation. However, for mass production, P20 or H13 tool steels are the industry standard for their superior durability.
- Aluminum: Best for < 1,000 parts.
- P20 Steel: Best for mid-volume.
- H13 Steel: Best for high-volume LSR.
Surface treatments for easy demolding
Look: the way the silicone releases from the tool is just as important as the metal itself. Specialized coatings or polished finishes can prevent the silicone from sticking and tearing during the ejection phase.
Key Takeaway: Match your tool material to your expected volume to avoid overpaying for unnecessary durability or under-investing in fragile tools.
| Material | Durability | Thermal Control | Use Case |
|---|---|---|---|
| Aluminum | Low | Excellent | Prototyping |
| P20 Steel | Medium | Good | Bridge Production |
| H13 Steel | Very High | Fair | Mass Production |
The choice of tool material is a strategic decision that impacts both the lead time and the total cost of ownership.
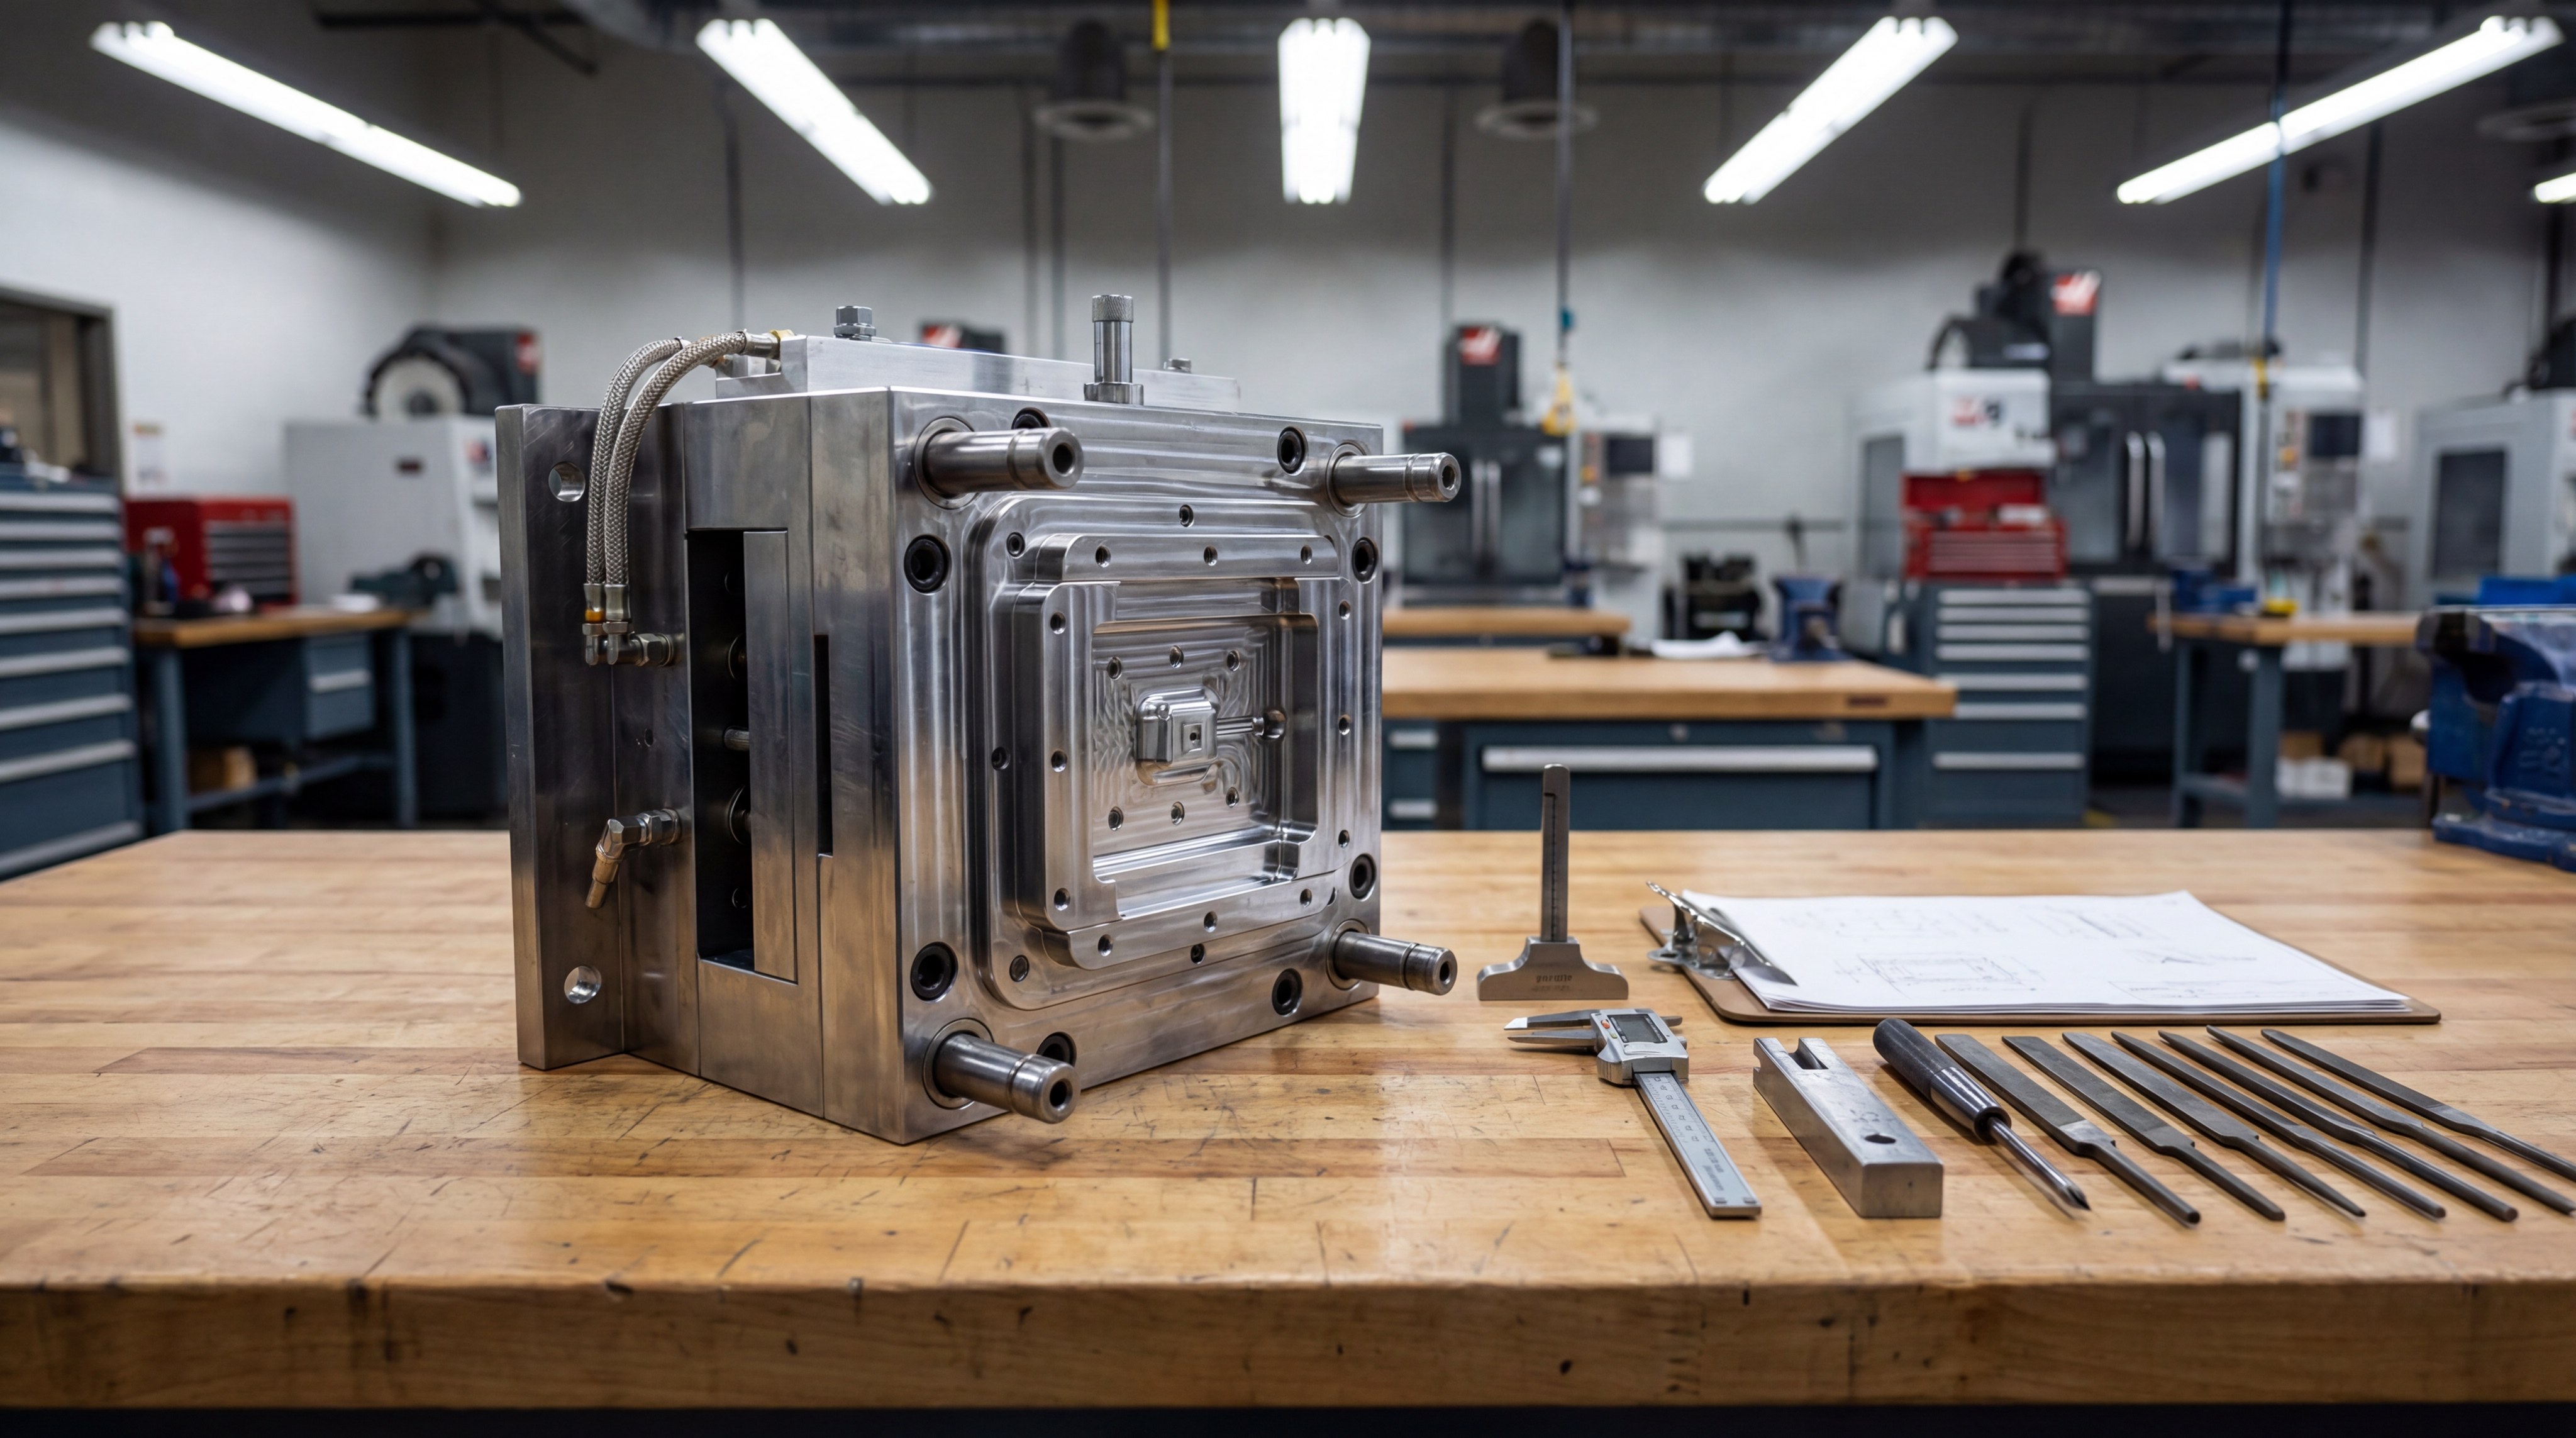
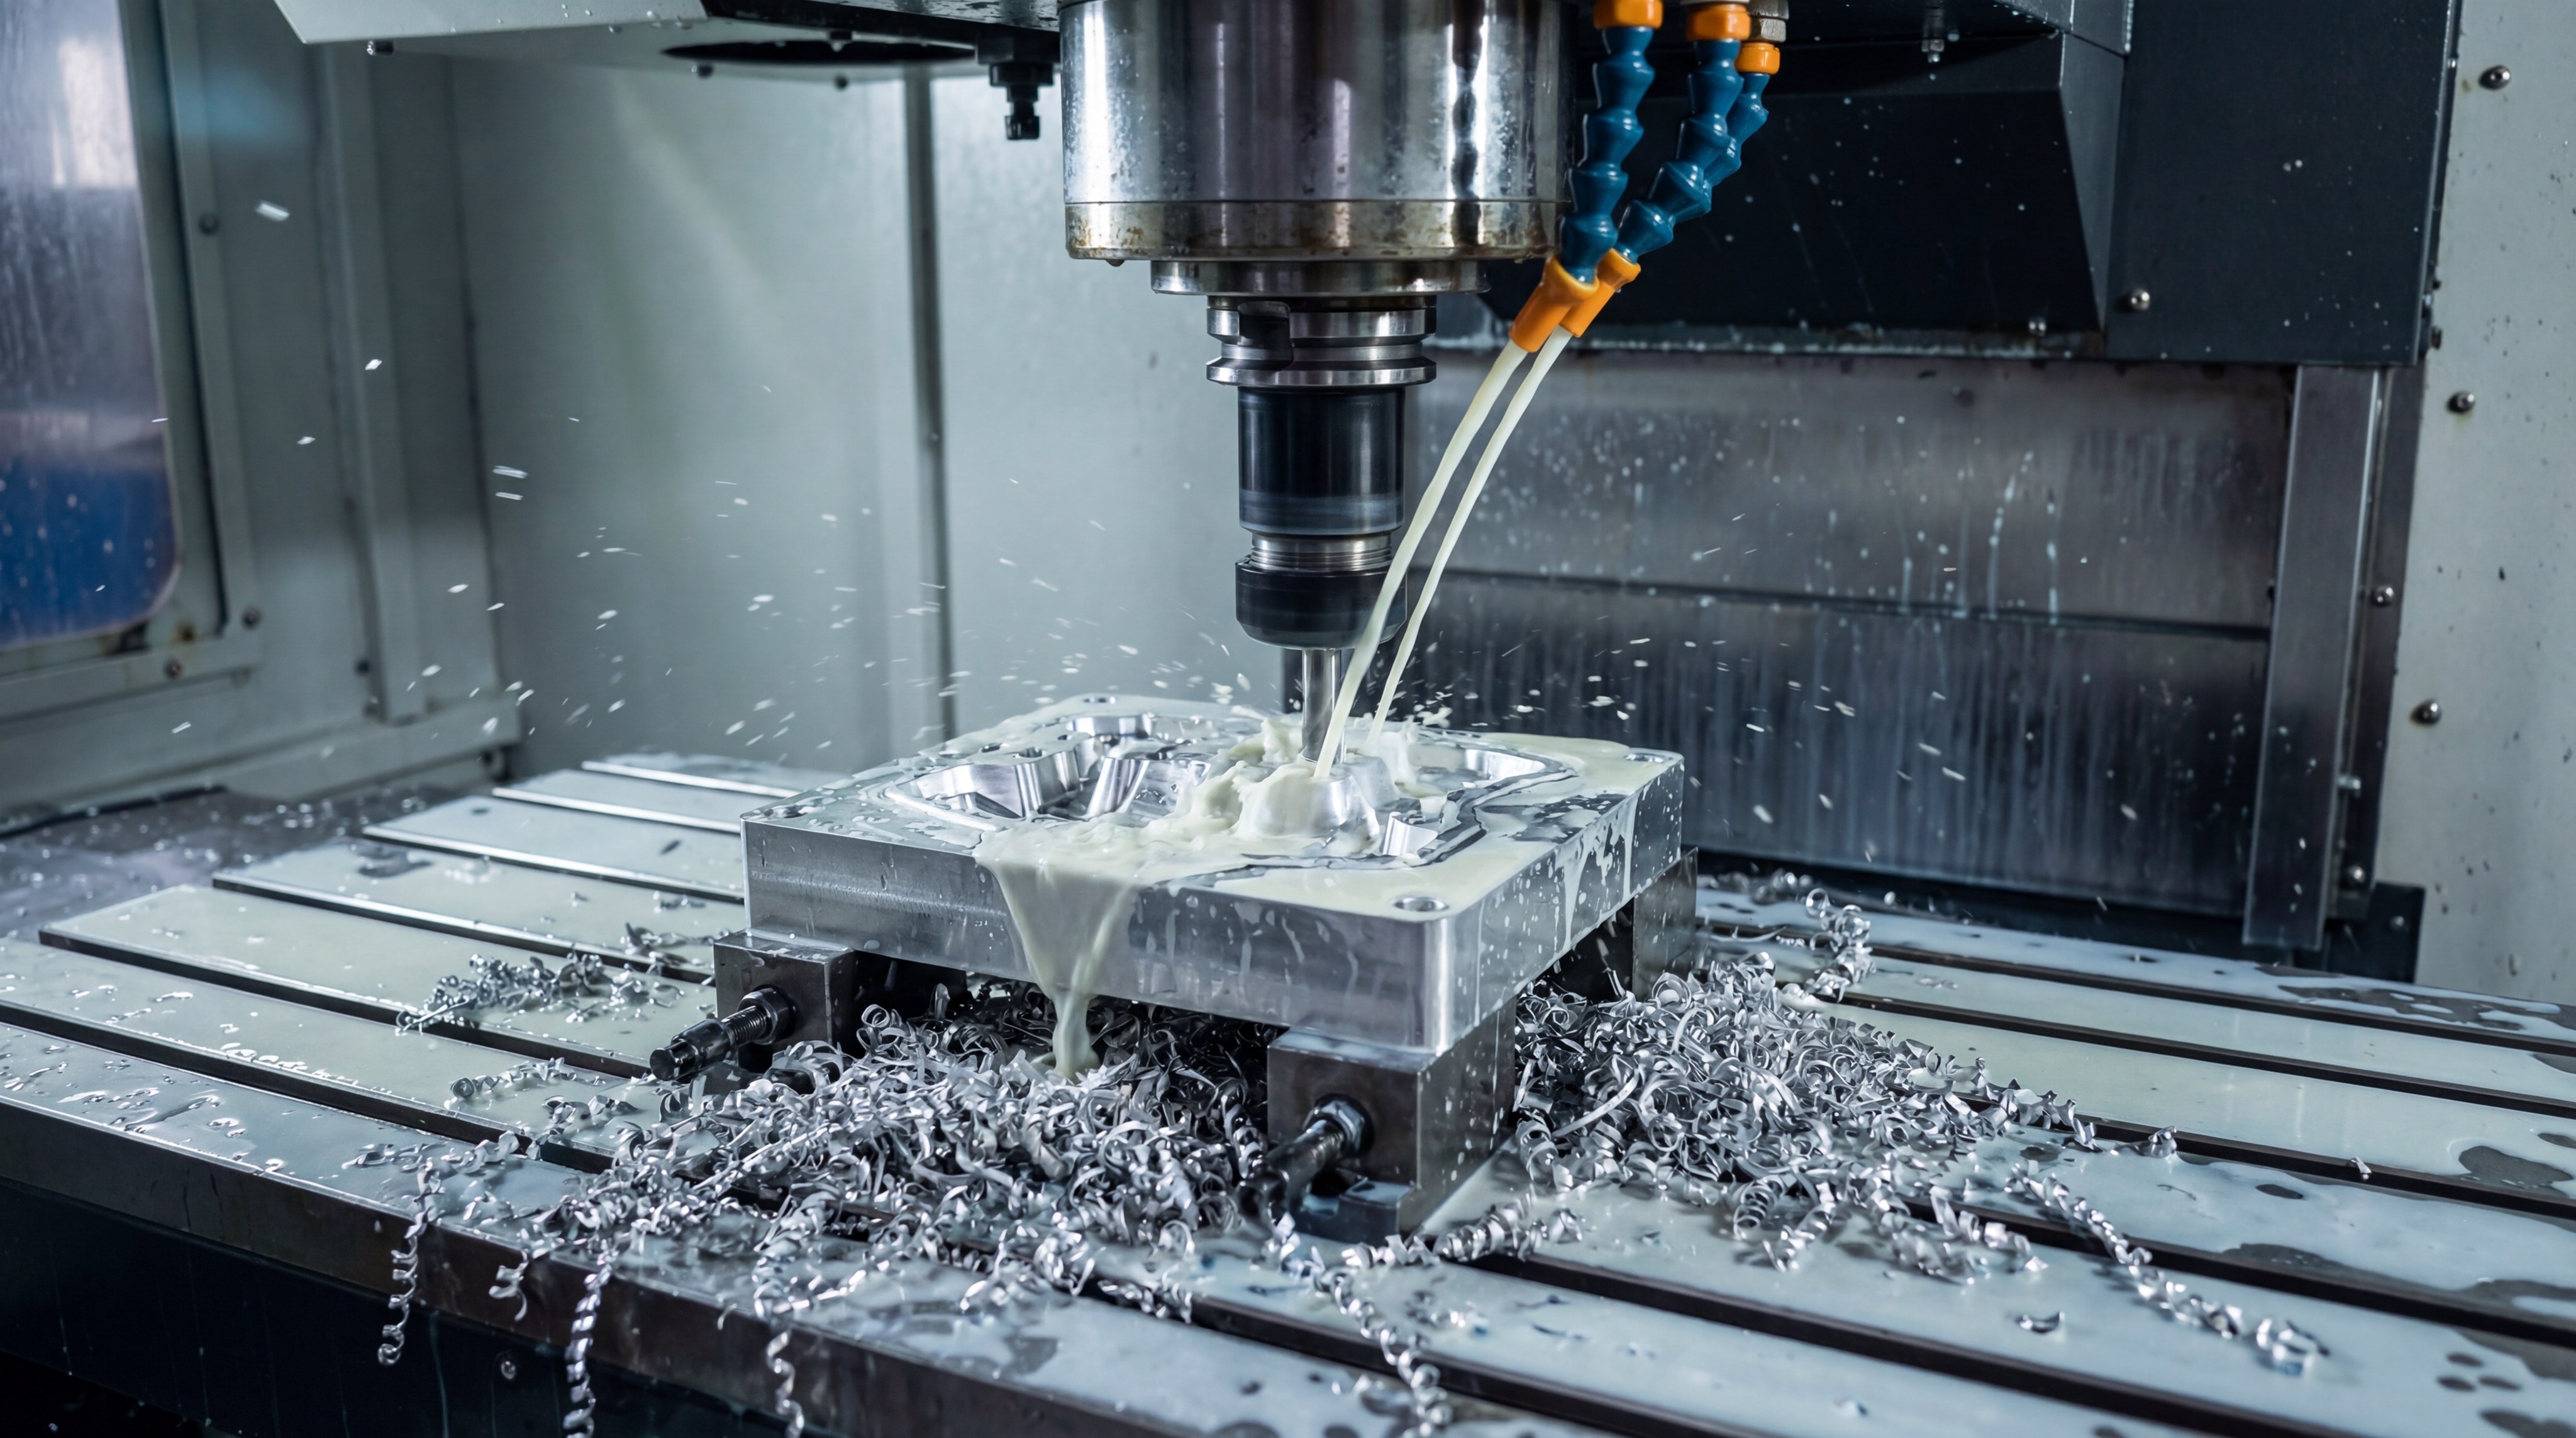
What role does CNC machining play in tooling?
CNC machining is the precision process used to carve the part geometry directly into the metal mold blocks. This technology allows silicone manufacturing providers to achieve micron-level accuracy and complex textures that would be impossible by hand.
Precision fabrication and surface finishing
But wait: the quality of your finished silicone part is limited by the quality of the CNC finish on the tool. High-speed milling and EDM (Electrical Discharge Machining) are used to create the sharp corners and fine details your design requires.
- Sub-micron tolerance capability.
- High-speed spindles for smooth finishes.
- EDM for deep, narrow ribs.
Engraving logos and functional textures
The best part? CNC machines can engrave your brand logo, part numbers, or specific non-slip textures directly into the mold surface. This eliminates the need for secondary operations like laser marking after the parts are molded.
Key Takeaway: CNC machining is the bridge that turns a digital CAD file into a physical, high-precision manufacturing asset.
| Process | Accuracy | Surface Quality |
|---|---|---|
| CNC Milling | High | Smooth / Textured |
| Wire EDM | Ultra-High | Matte / Sparked |
| Polishing | High | Mirror / Gloss |
Modern machining techniques ensure that your silicone parts look as good as they perform.
How is tool fitting and assembly performed?
Tool fitting is the artisanal stage where skilled mold makers manually align and adjust the components to ensure a perfect seal. In silicone manufacturing, even a gap of 0.001 inches can cause unsightly material leakage known as flash.
Aligning core and cavity components
Look: the two halves of the mold must align perfectly every time the press closes. Precision guide pins and bushings are used to maintain this alignment through thousands of production cycles.
- Manual spotting for perfect shut-off.
- Testing ejector pin movement.
- Verifying seal integrity.
Preventing material leaks and flashing
Here is the deal: silicone is an incredibly low-viscosity material when heated, meaning it will find even the smallest crack. Expert fitting ensures that the “shut-off” areas are tight enough to contain the liquid silicone under pressure.
Key Takeaway: Quality tool assembly is the difference between a part that needs manual trimming and one that is ready to ship right out of the mold.
| Fitting Check | Purpose | Risk of Failure |
|---|---|---|
| Shut-off Check | Prevent flash | High material waste |
| Ejector Travel | Part removal | Damaged parts |
| Seal Inspection | Contain material | Machine downtime |
The human touch in mold assembly ensures the machine-cut metal performs as a cohesive, leak-proof system.
Why is tool testing essential for quality?
Tool testing, often called “mold trials,” is the final validation step where the first parts are actually produced and inspected. This phase of silicone manufacturing identifies any real-world issues that weren’t visible in the digital design or during the machining phase.
Evaluating T0 and T1 sample runs
But wait: you should never move to mass production without reviewing the T1 samples first. This initial run allows you to check for dimensional accuracy, color consistency, and surface defects under actual molding conditions.
- Verify shrinkage assumptions.
- Check for air traps or burns.
- Confirm cycle time estimates.
Correcting flash and shrinkage issues
Look: if the T1 samples show minor issues, the tool can be “tuned” or adjusted. This iterative process ensures that once mass production starts, the scrap rate remains as low as possible.
Key Takeaway: Tool testing provides the empirical evidence needed to sign off on production with total peace of mind.
| Trial Stage | Focus | Action |
|---|---|---|
| T0 (Initial) | Basic function | Fix major leaks |
| T1 (Samples) | Dimensional check | Tune for tolerance |
| T2 (Final) | Quality approval | Begin production |
Systematic testing is the final gatekeeper that protects your project from costly manufacturing errors.
How do you ensure production readiness?
Production readiness is achieved when the tool is fully validated, maintenance plans are in place, and all documentation is finalized. In silicone manufacturing, staying ready means having a repeatable process that can be restarted at any time with the same results.
Final validation and documentation
Here is the deal: a tool is only as good as the data behind it. We document every setting—from injection pressure to cure time—to ensure that your parts look the same whether we mold them today or next year.
- Critical dimension reports.
- Validated process parameters.
- Material certification logs.
Establishing a long-term maintenance plan
Look: like any high-performance machine, a production tool needs care. Regular cleaning, lubrication, and inspection prevent premature wear and keep your unit costs low over the life of the project.
Key Takeaway: A finalized, documented process ensures that your production remains stable and scalable regardless of external variables.
| Readiness Step | Importance | Long-term Value |
|---|---|---|
| Process Log | Stability | Repeatable quality |
| Spare Parts | Continuity | Minimized downtime |
| QC Standards | Clarity | Lower rejection rates |
True production readiness is the transition from a “project” to a reliable “supply chain” asset.
Conclusion
Navigating the transition from a conceptual design to a market-ready product requires a deep understanding of tooling mechanics. By selecting the appropriate mold type for your current stage—whether it’s the speed of prototyping or the precision of production—you safeguard your investment and ensure the reliability of your silicone parts. We solve the complex puzzle of scale by providing in-house mold design and stable mass production that eliminates quality drift and communication errors.
At HuaLin Silicone, we believe that your manufacturing partner should be an extension of your engineering team. Our mission is to provide repeatable, controlled processes so your parts remain stable from the first prototype to global mass production. Contact us today for a comprehensive DFM review and a precision quote that will bring your next silicone innovation to life.
Frequently Asked Questions (FAQ)
- Can I use a prototype tool for mass production?
No, you should not use prototype tools for mass production. These tools are typically made of aluminum or soft steel and are only designed to last for 50 to 500 cycles before losing the tight tolerances required for high-quality parts. - What’s the best material for a tool if I need 100,000 parts?
The best approach is to use a hardened tool steel like H13. This material is specifically engineered to withstand the thermal stress and mechanical wear of high-volume silicone manufacturing for hundreds of thousands of cycles. - How do I know if my design is ready for production tooling?
You know you are ready when you have successfully validated your design with functional prototypes and a formal Design for Manufacturing (DFM) review. If your geometry and material choice are finalized, moving to production steel is the next logical step to reduce unit costs. - Can I modify a production tool if my design changes?
Yes, it is possible to make minor modifications, but it is often difficult and expensive. Because production tools are made of hardened steel, changes usually require specialized EDM processes or welding, which can affect the integrity of the mold surface. - How long does it take to build a high-precision silicone mold?
The timeline typically ranges from 3 to 6 weeks depending on complexity. While simple prototype molds can be finished in under 2 weeks, complex multi-cavity production tools require more time for precision machining, heat treatment, and manual fitting.