
Making molds from silicone sealant involves mixing 100% silicone with a dish soap and water solution to create a flexible, moldable dough. Finding professional-grade molding materials can often be prohibitively expensive for small-scale B2B prototypes or custom hobbyist projects. Relying on rigid, low-quality alternatives usually results in broken casts or lost intricate details that delay your production timeline. Learning how to make silicone molds with standard sealant offers a cost-effective, highly durable solution for your workshop needs.
Why Should You Use Silicone Sealant for DIY Molds?
Using silicone sealant is an ideal choice because it provides a high level of flexibility and detail reproduction at a fraction of the cost of industrial kits. When you are exploring how to make silicone molds, you will find that this accessible material is perfect for creating custom gaskets, seals, or decorative components. Its ability to withstand moderate temperatures makes it a versatile tool for various manufacturing and prototyping applications.
What projects benefit most from silicone molds?
You will find that small-scale casting and rapid prototyping benefit the most from this specific DIY method. This technique is particularly useful for creating custom parts that do not require high-pressure injection.
You might be wondering:
- Custom industrial gaskets and spacers.
- Decorative architectural resin elements.
- Small plastic part replicas for testing.
Why is DIY molding more cost-effective than buying kits?
Purchasing pre-mixed industrial silicone kits can significantly inflate your project’s overhead costs. By using standard sealant, you maintain control over your budget without sacrificing the physical properties of the final mold.
But here is the kicker:
Key Takeaway: Silicone sealant molds provide a balance between professional performance and significant cost savings for low-volume production.
| Factor | DIY Sealant Mold | Industrial Kit |
|---|---|---|
| Material Cost | Low ($5-$10) | High ($30-$100+) |
| Setup Time | 15-30 Minutes | 2-4 Hours |
| Flexibility | High | Excellent |
This analysis shows that DIY methods are superior for projects where speed and budget are the primary drivers.
What Supplies Do You Need to Start Your Mold Project?

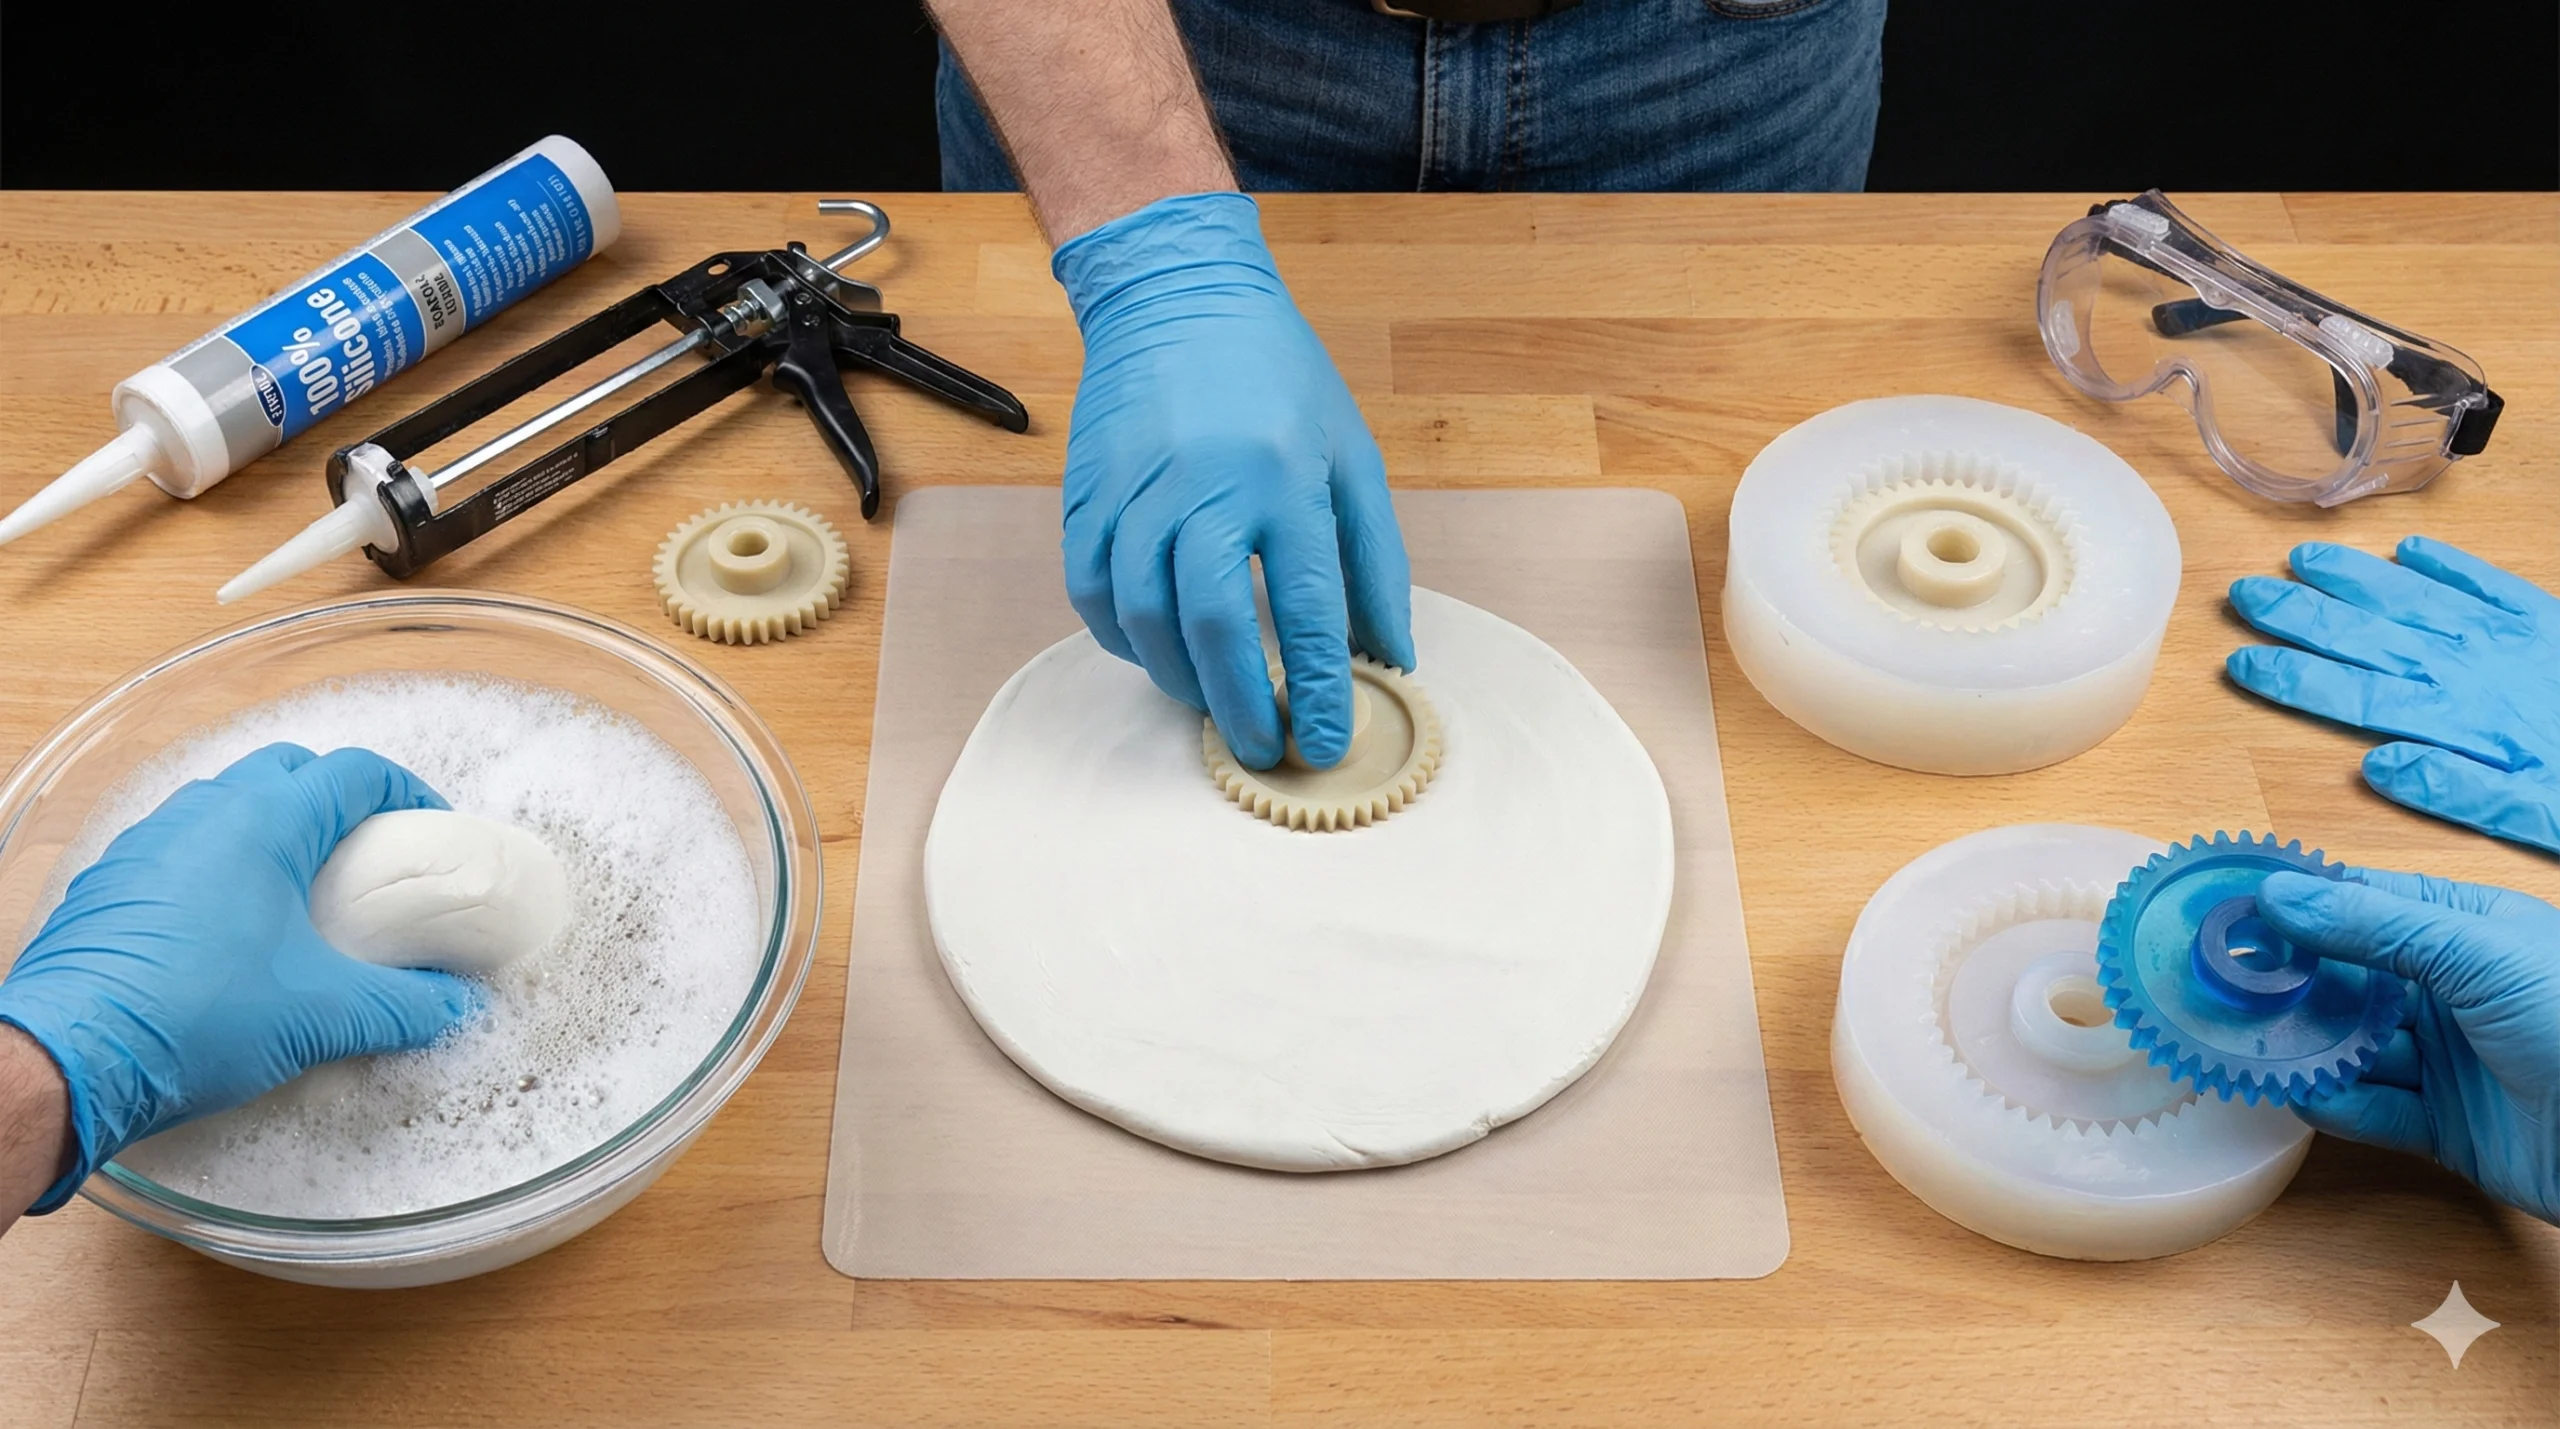
To begin, you need 100% silicone sealant, liquid dish soap, a deep mixing bowl, and your master object. Understanding how to make silicone molds requires having these items ready to ensure the chemical reaction occurs correctly during the kneading phase. Using the wrong type of sealant, such as those with anti-mold additives, can prevent the silicone from ever fully curing into a solid state.
Which type of silicone sealant is best for molding?
You must select a 100% silicone sealant, typically labeled as “Acetoxy Cure,” for the best results. These sealants release a vinegar-like smell during the curing process, which indicates the catalyst is working properly.
Check this out:
- 100% Silicone (no acrylic blends).
- Clear or white base for visibility.
- Fast-curing architectural grade options.
What tools help you manage the sealant application?
Managing the sticky sealant requires simple tools like a caulk gun and disposable wooden stirrers. You will find that having these tools organized prevents the mess from spreading across your clean workspace.
You might be surprised:
Key Takeaway: Success depends on using high-purity silicone and having a structured workspace with disposable tools for easy cleanup.
| Item | Purpose | Importance |
|---|---|---|
| Caulk Gun | Controlled extrusion | Critical |
| Deep Bowl | Submerged mixing | High |
| Master Object | Shape template | Essential |
Proper tool selection ensures that your molding process remains efficient and prevents material waste during application.
How Can You Safely Work with Silicone Sealant at Home?
Safety is paramount because silicone sealants release acetic acid vapors that can irritate your respiratory system and eyes. When learning how to make silicone molds, you must prioritize a well-ventilated area to manage these chemical fumes effectively. Protecting your skin and eyes ensures that your prototyping process remains a safe and professional endeavor.
Why is ventilation critical during the curing process?
You need to work in a space with active airflow to prevent the buildup of acetic acid gas. Inhaling these concentrated fumes over a long period can cause dizziness or lung irritation during your project.
Keep this in mind:
- Open windows and use exhaust fans.
- Work outdoors if weather permits.
- Use a respirator with organic vapor cartridges.
How do you prevent skin and eye irritation from sealant?
You should always wear nitrile gloves and safety goggles to prevent direct contact with the uncured silicone. Uncured sealant is highly adhesive and can be difficult to remove from skin without using harsh chemical solvents.
Think about this:
Key Takeaway: Prioritizing ventilation and personal protective equipment (PPE) is the only way to ensure a safe mold-making environment.
| PPE Item | Protection Level | Risk Mitigation |
|---|---|---|
| Nitrile Gloves | High | Chemical burns/Adhesion |
| Safety Goggles | Essential | Vapor irritation/Splashes |
| Respirator | Recommended | Respiratory distress |
Safety equipment transforms a potentially hazardous chemical process into a controlled and professional manufacturing step.
How Do You Prepare the Silicone Catalyst Solution?
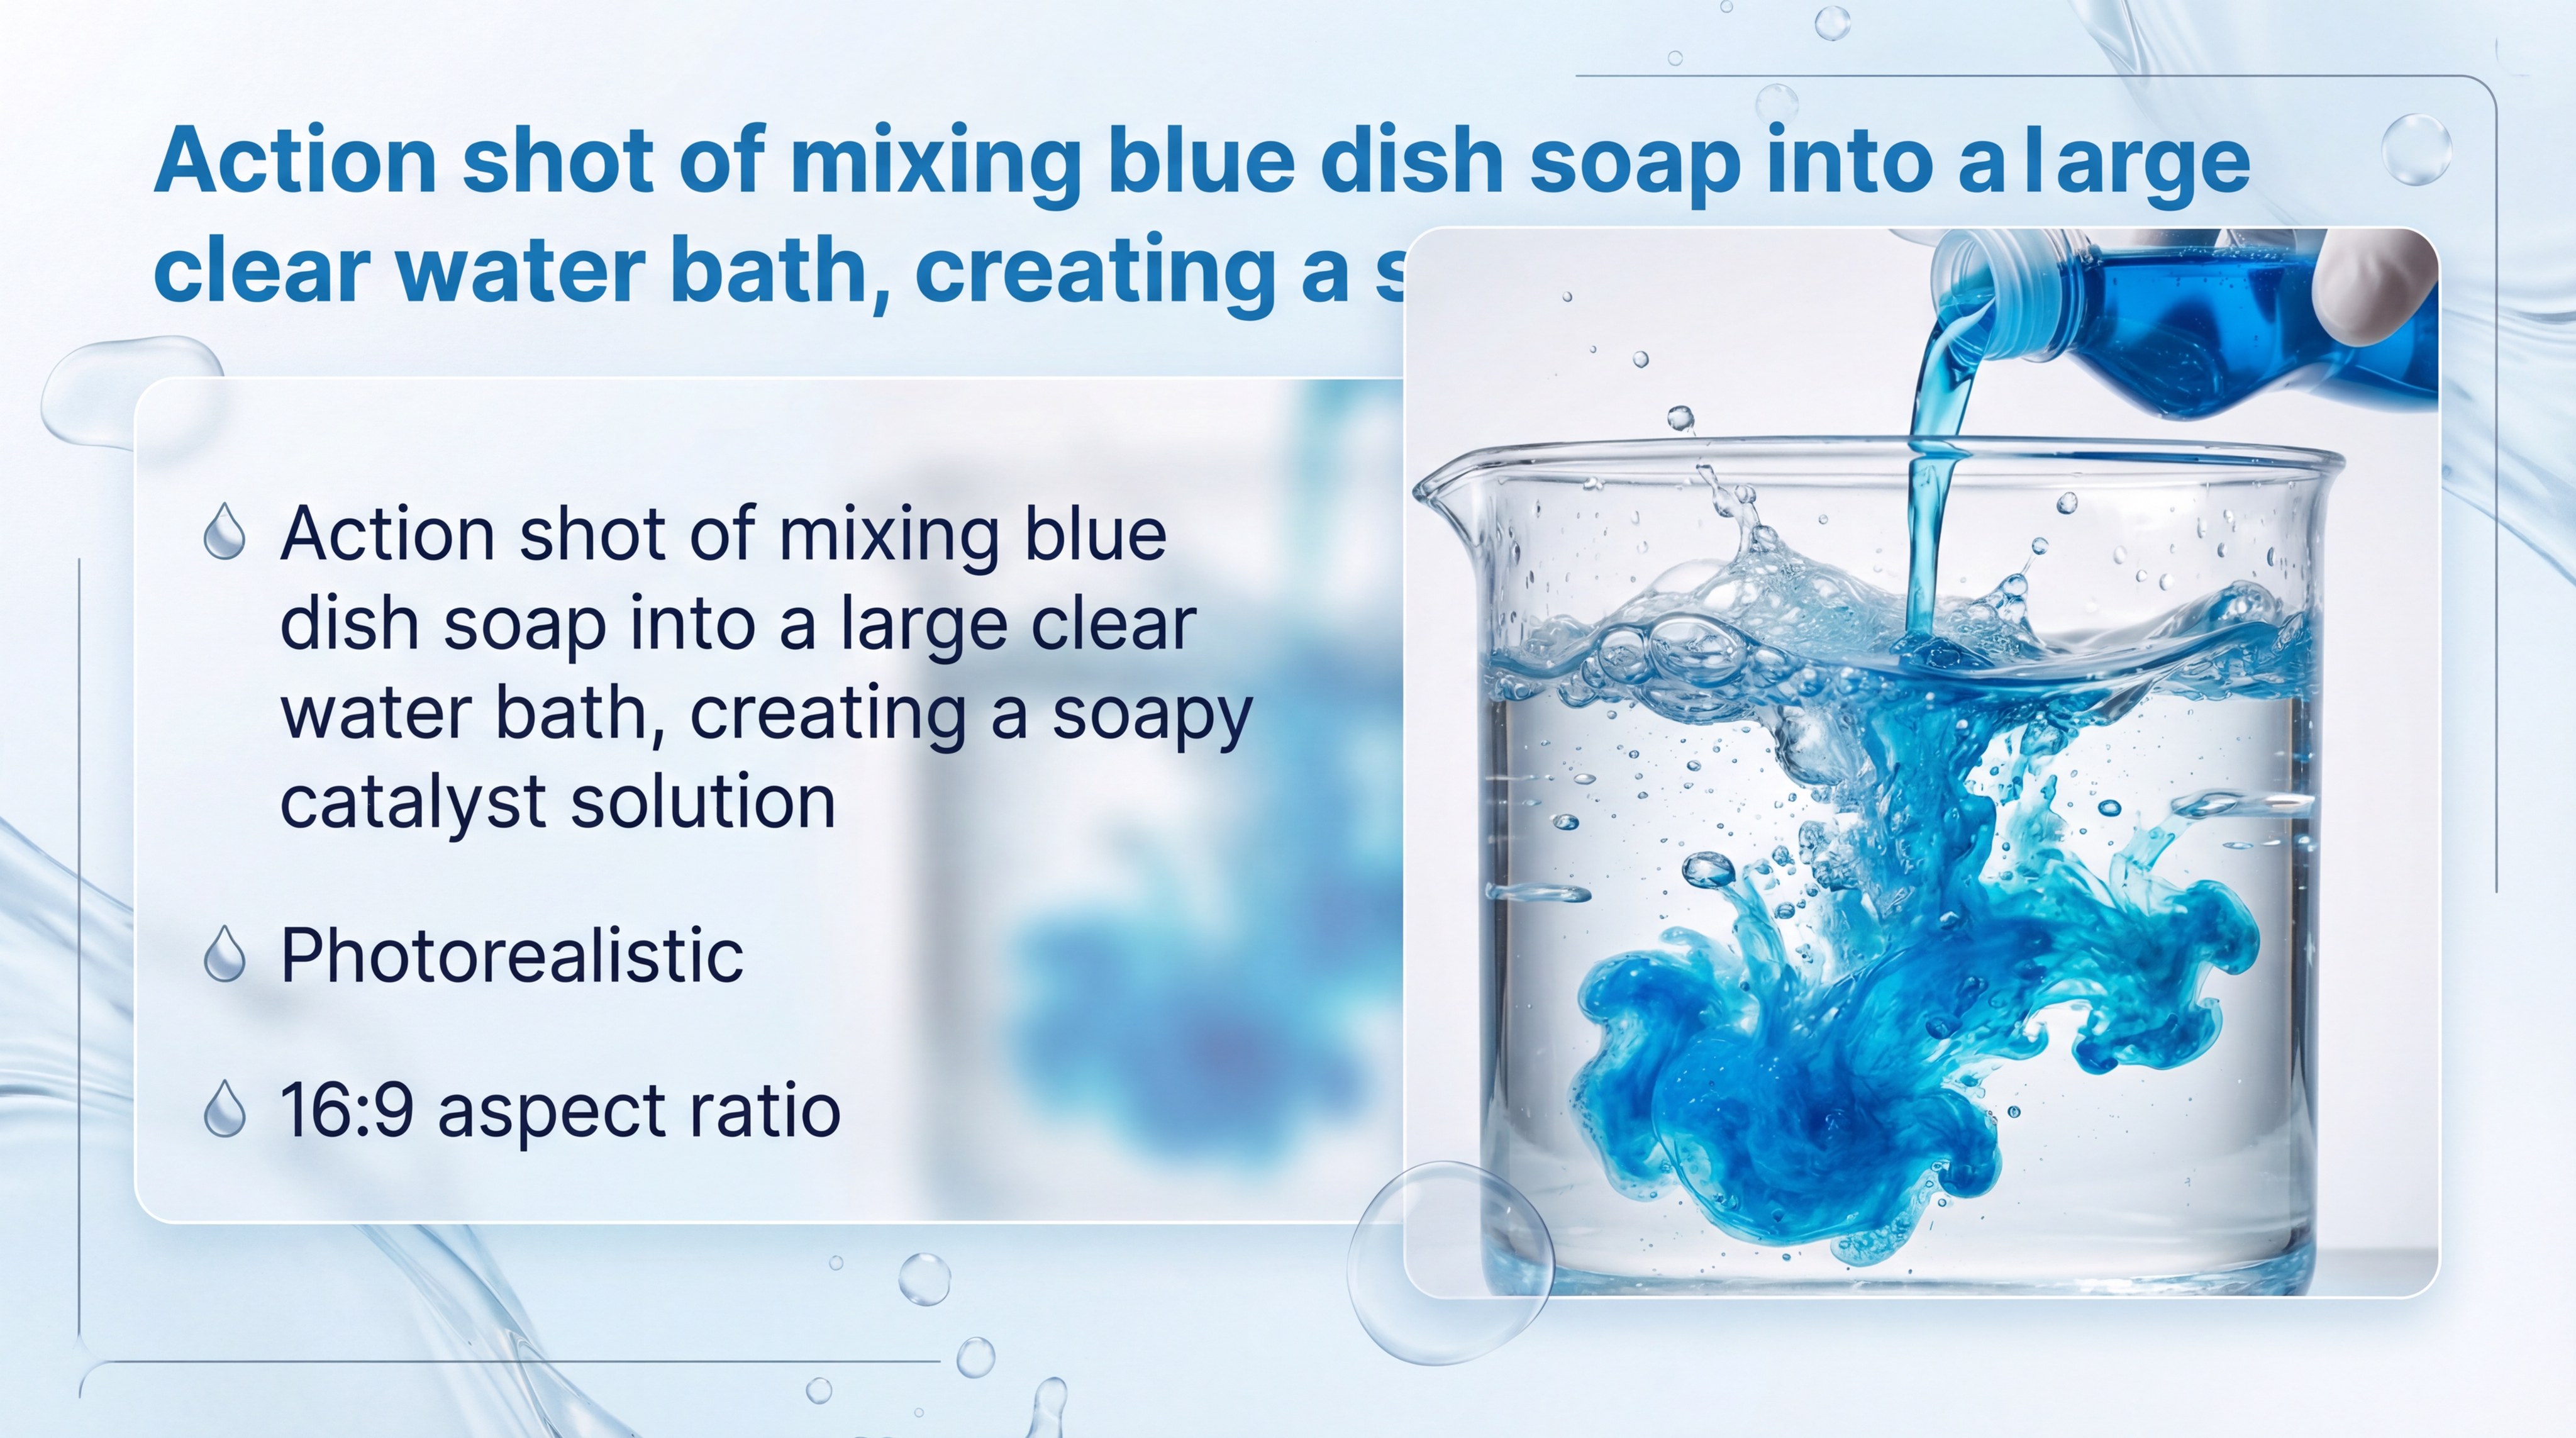
The catalyst solution consists of a specific ratio of concentrated liquid dish soap and lukewarm water. When researching how to make silicone molds, you will discover that the soap acts as the curing agent that allows the silicone to harden from the inside out. Without this soapy bath, the sealant would only form a thin skin on the outside while remaining liquid in the center.
What is the ideal water-to-soap ratio for the bath?
You should aim for a ratio of approximately ten parts water to one part liquid dish soap. This concentration ensures there is enough surfactant to trigger the silicone’s polymerization without making the dough too slippery to handle.
Here is the secret:
- 1 Gallon of lukewarm water.
- 1 Cup of concentrated dish soap.
- Stir until bubbles begin to form.
Does the temperature of the water affect the setting time?
You will find that warmer water generally accelerates the chemical reaction and reduces your working time significantly. Using cool or lukewarm water is better for complex molds because it gives you more time to knead the dough.
The reality is:
Key Takeaway: A balanced soap-to-water ratio is the chemical foundation for turning liquid sealant into a workable molding material.
| Variable | Effect on Cure | Recommendation |
|---|---|---|
| High Soap | Fast cure/Short working time | Use for simple shapes |
| Warm Water | Speeds up reaction | Avoid for complex detail |
| Deep Bowl | Better submersion | Use 5L+ capacity |
Mastering the bath chemistry allows for consistent results across different batches of your custom silicone molds.
How Do You Turn Liquid Sealant into Moldable Dough?
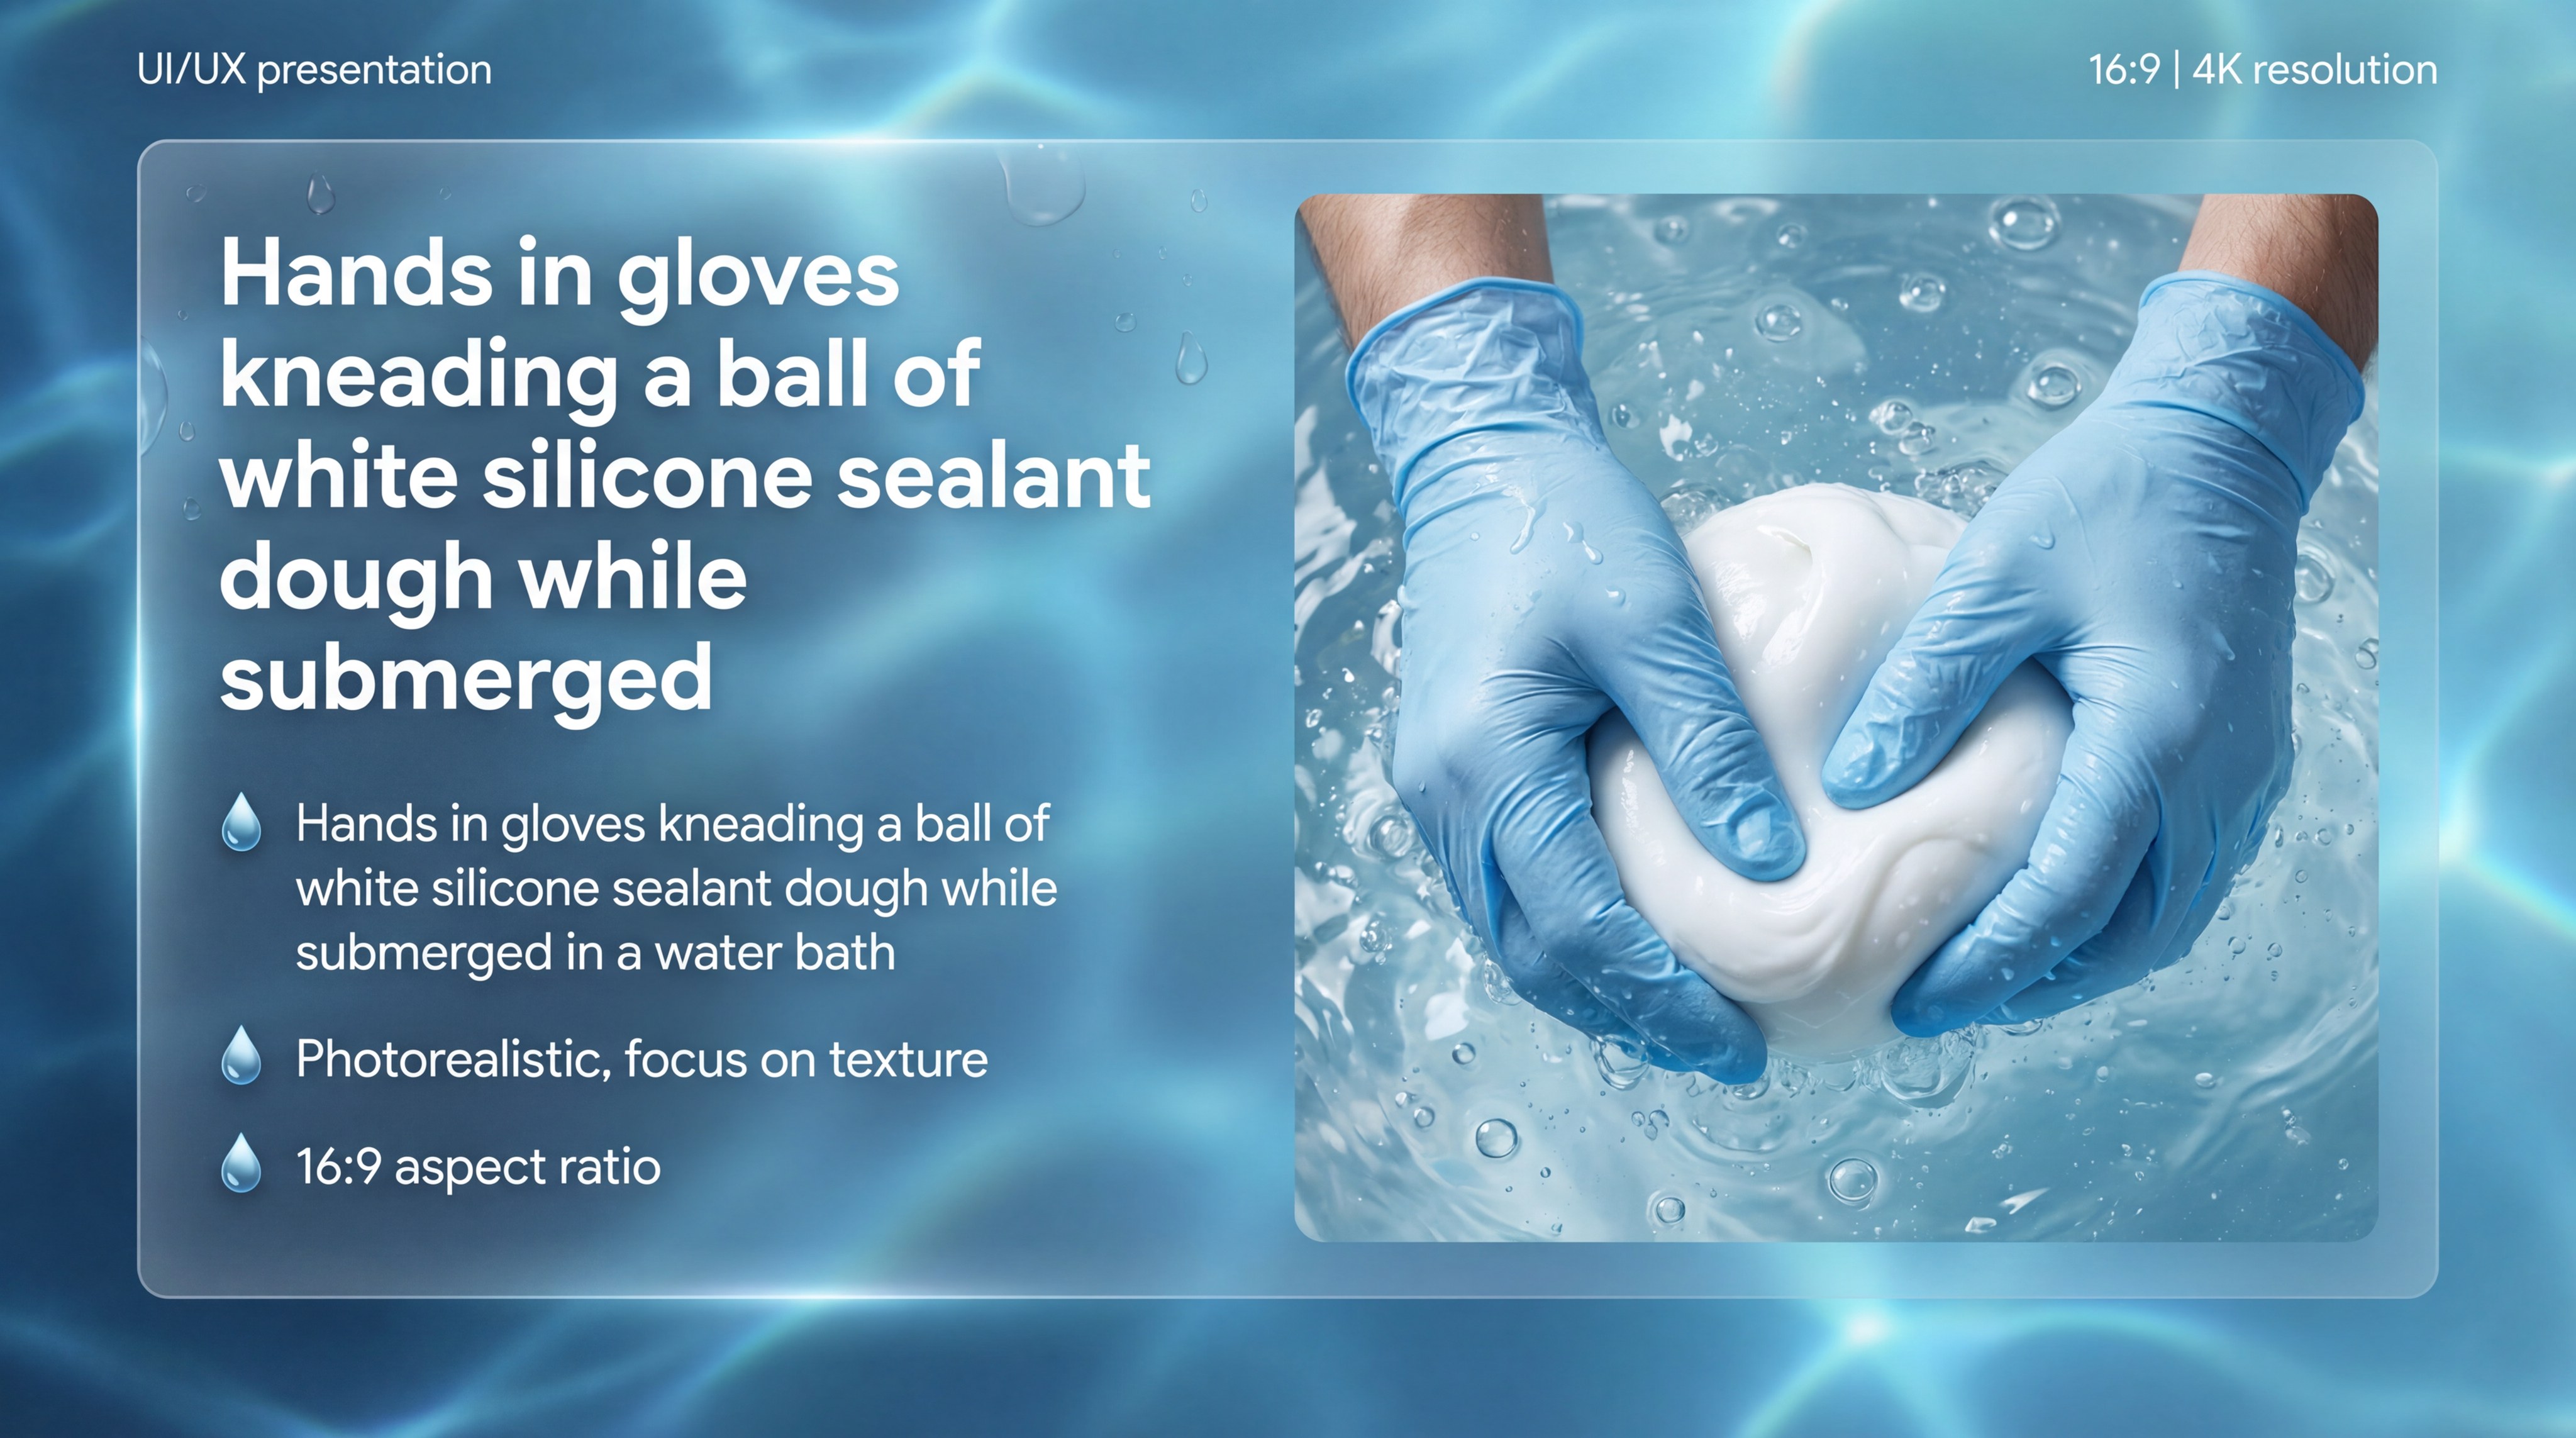
You turn the sealant into dough by extruding it directly into the soapy water and kneading it firmly with your hands. During this stage of how to make silicone molds, the goal is to fold the soapy water into the silicone to ensure an even cure. The silicone will gradually lose its stickiness and take on a consistency similar to modeling clay or bread dough.
How long should you knead the silicone in the water?
You need to knead the silicone for about three to five minutes until it no longer sticks to your gloves. Over-kneading can lead to premature hardening, so you must work quickly once the texture begins to firm up.
But wait, there’s more:
- Keep the silicone fully submerged.
- Fold the material inward repeatedly.
- Feel for a smooth, non-tacky surface.
When do you know the silicone is ready for the object?
You will know the dough is ready when it holds its shape after being squeezed and no longer leaves residue on surfaces. It should feel pliable and soft enough to capture fine details from your master object without resisting the pressure.
You might be wondering:
Key Takeaway: Controlled kneading under water is the transition point where liquid sealant becomes a professional-grade molding putty.
| Stage | Texture | Action |
|---|---|---|
| Initial | Sticky/Gooey | Stir in water |
| Middle | Stringy/Soft | Fold and press |
| Final | Dough-like/Firm | Form into a ball |
The kneading process must be consistent to ensure that no liquid pockets remain within the center of the mold.
How Do You Press Your Object into the Silicone Dough?
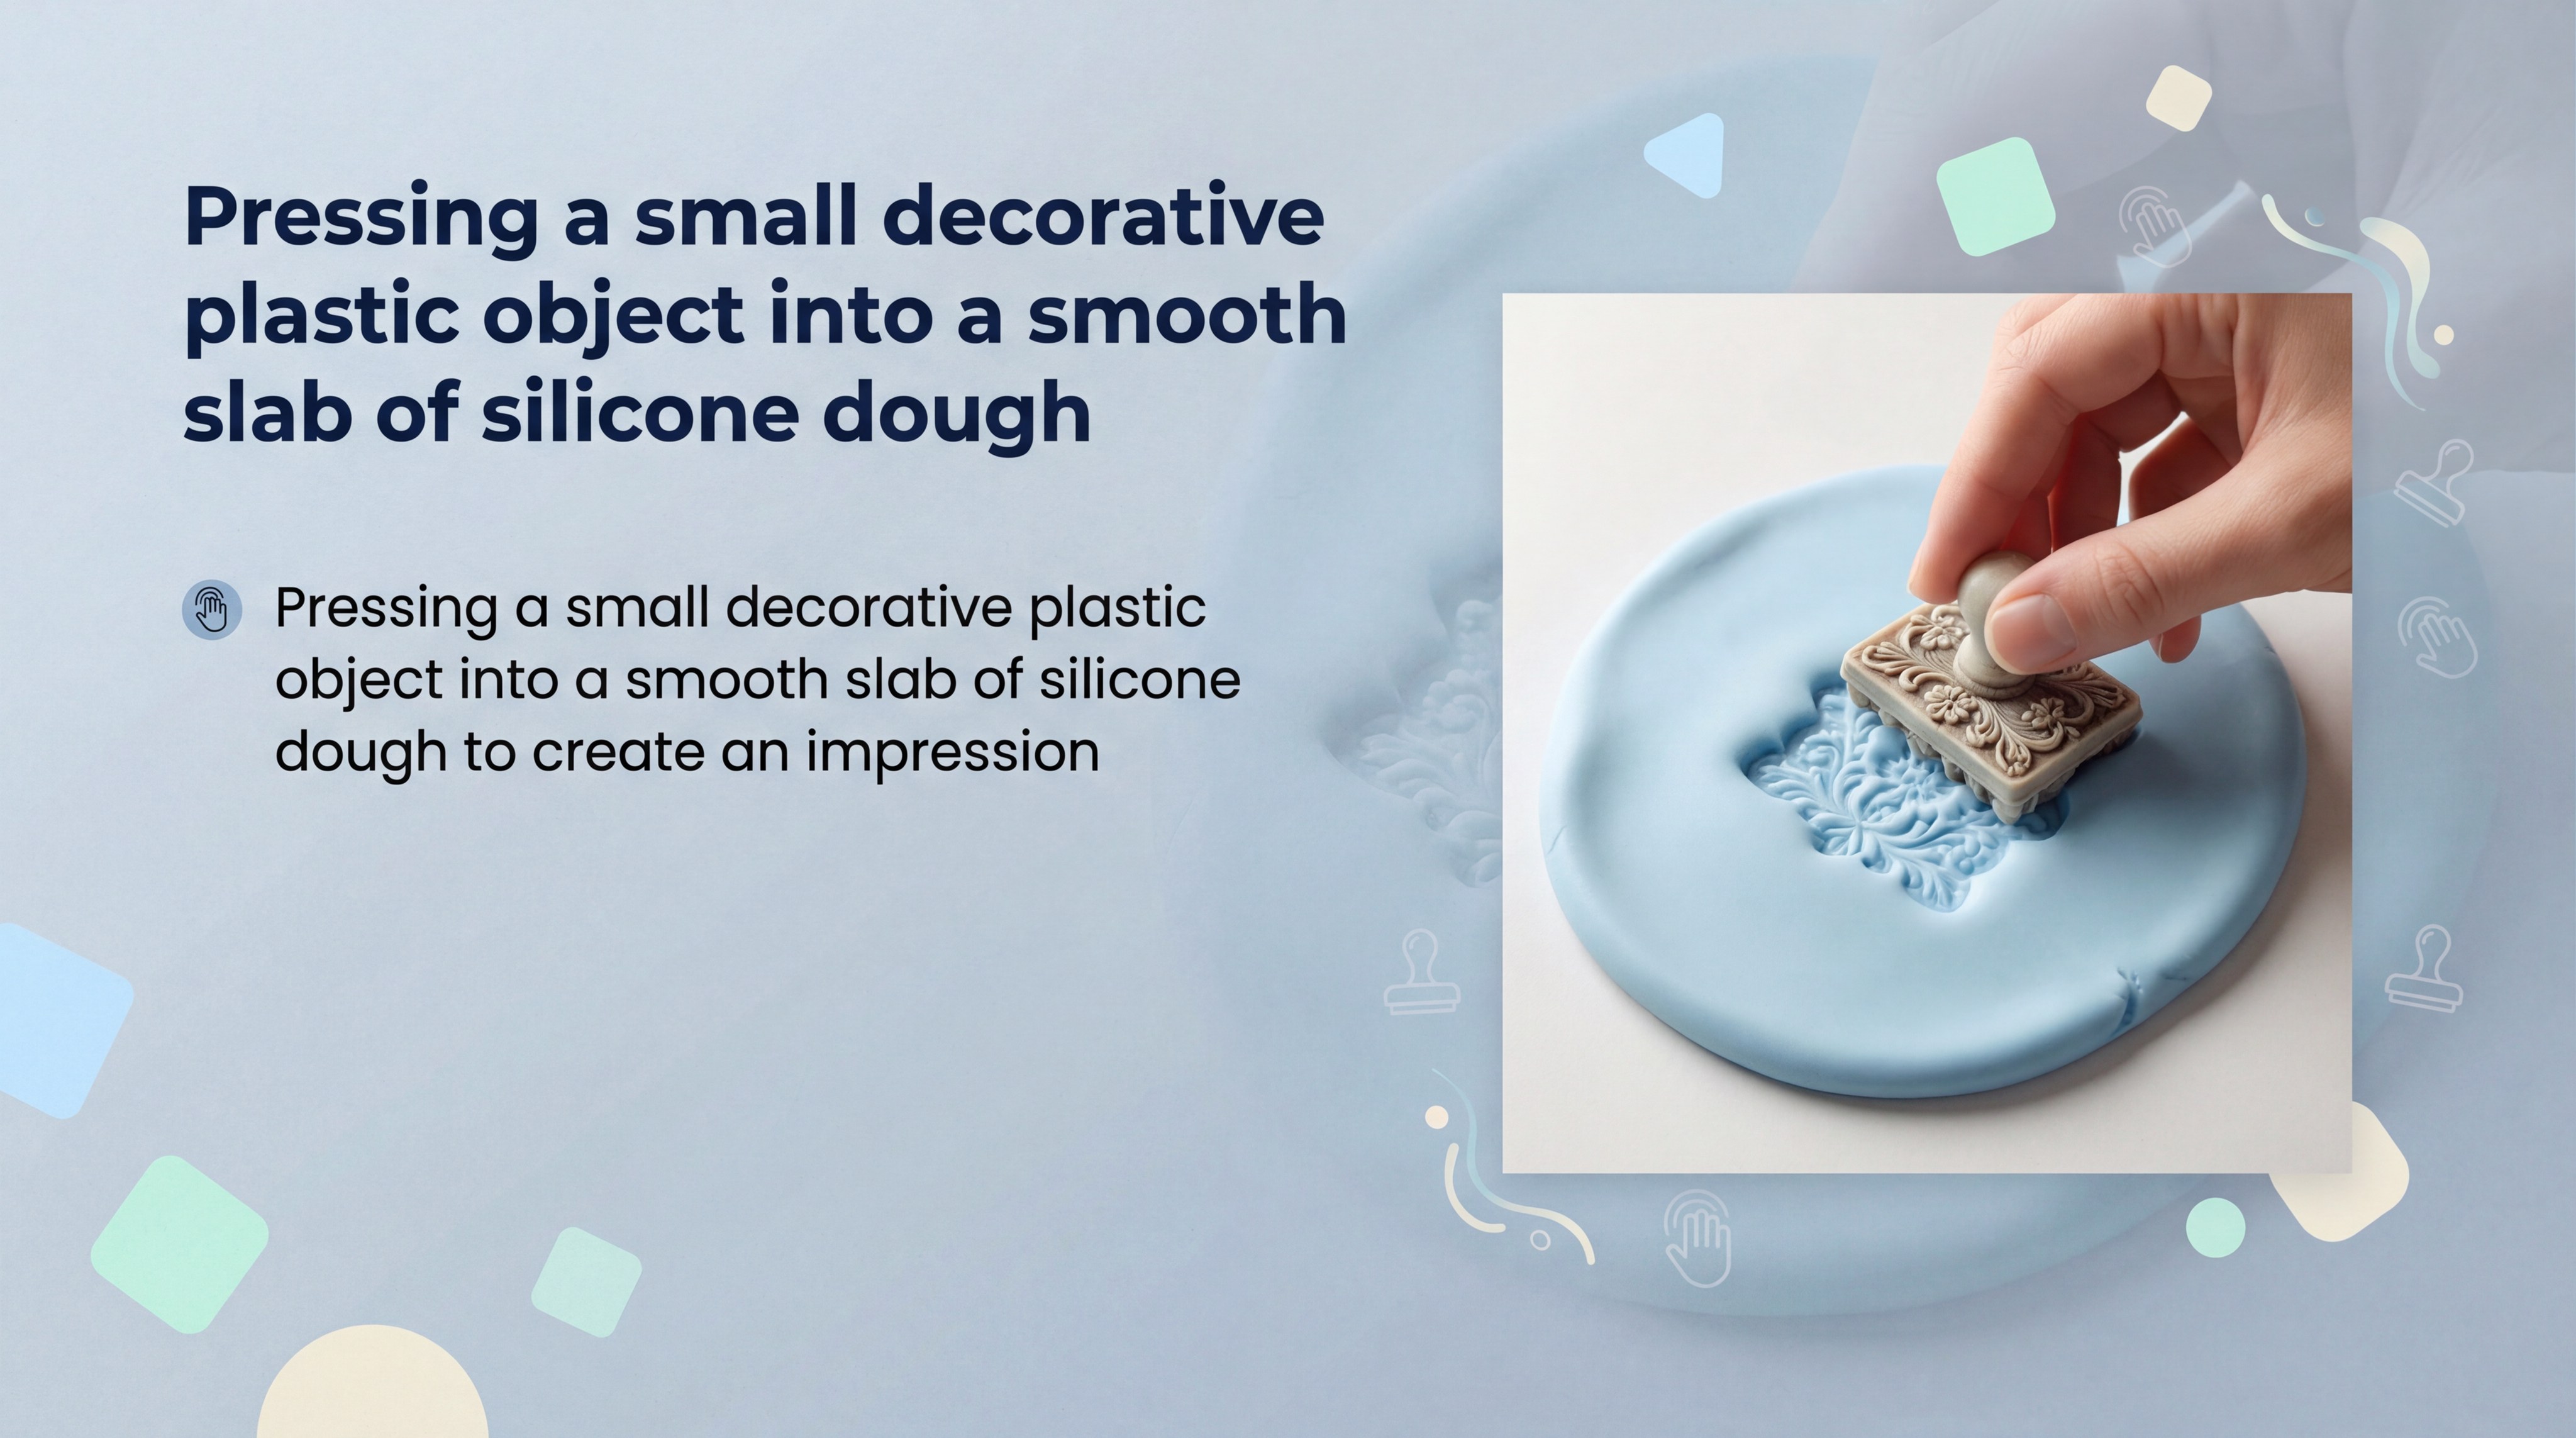
Pressing the object requires firm, even pressure to ensure the silicone dough flows into every crevice and undercut. When mastering how to make silicone molds, you should place the dough on a flat, non-stick surface before introducing the master object. Ensure that the object is centered so there is enough wall thickness to prevent the mold from tearing during later use.
How deep should you submerge the object into the mold?
You should submerge the object until it is at least halfway covered, or fully covered if you are making a two-part mold. Leaving a substantial border around the edges ensures that the mold remains stable and does not warp when you pour resin.
The trick is:
- Maintain a 1cm minimum wall thickness.
- Press slowly to avoid trapping air.
- Keep the base level for a flat bottom.
Should you add extra silicone to ensure it is watertight?
You can add small patches of dough to areas where the coverage seems thin or uneven. You will find that the silicone bonds to itself easily while it is still in its uncured, dough-like state.
Believe it or not:
Key Takeaway: Precise object placement and even pressure are critical for capturing the fine details necessary for industrial-grade replicas.
| Goal | Method | Result |
|---|---|---|
| Detail Capture | Firm, slow pressure | Crisp edges |
| Stability | Thick outer walls | No warping |
| Level Base | Flat surface pressing | Easy casting |
Proper pressing ensures that the internal cavity of your mold is an exact negative of your master part.
How Long Does the Silicone Sealant Mold Take to Cure?
Standard silicone sealant molds typically take between 2 to 24 hours to cure completely depending on their thickness. When evaluating how to make silicone molds, you must allow enough time for the acetic acid to evaporate and the polymer chains to lock. Thicker molds require significantly longer wait times because the curing agent has a greater distance to travel through the material.
Why must the object stay inside while the mold dries?
You must keep the master object inside the mold to maintain the precise dimensions and prevent shrinkage during the cure. Removing it too early can cause the walls to collapse or the fine details to distort as the silicone firms up.
The kicker is:
- Prevents internal wall shrinkage.
- Keeps the cavity shape perfect.
- Allows for the most accurate replica.
How can you tell if the mold is fully hardened?
You can test the cure by gently pressing a fingernail into an inconspicuous area on the outside of the mold. If the indentation springs back immediately and the surface feels completely dry, the mold is likely ready for demolding.
But here is the catch:
Key Takeaway: Patience during the curing phase is the difference between a high-fidelity mold and a distorted, useless piece of silicone.
| Mold Thickness | Estimated Cure Time | Environment |
|---|---|---|
| < 1cm | 2-4 Hours | Well-ventilated |
| 1cm – 3cm | 6-12 Hours | Standard humidity |
| > 3cm | 24 Hours | Controlled temp |
Wait times are non-negotiable for ensuring the chemical stability and longevity of your custom silicone tools.
How Do You Remove the Master Object from the Finished Mold?
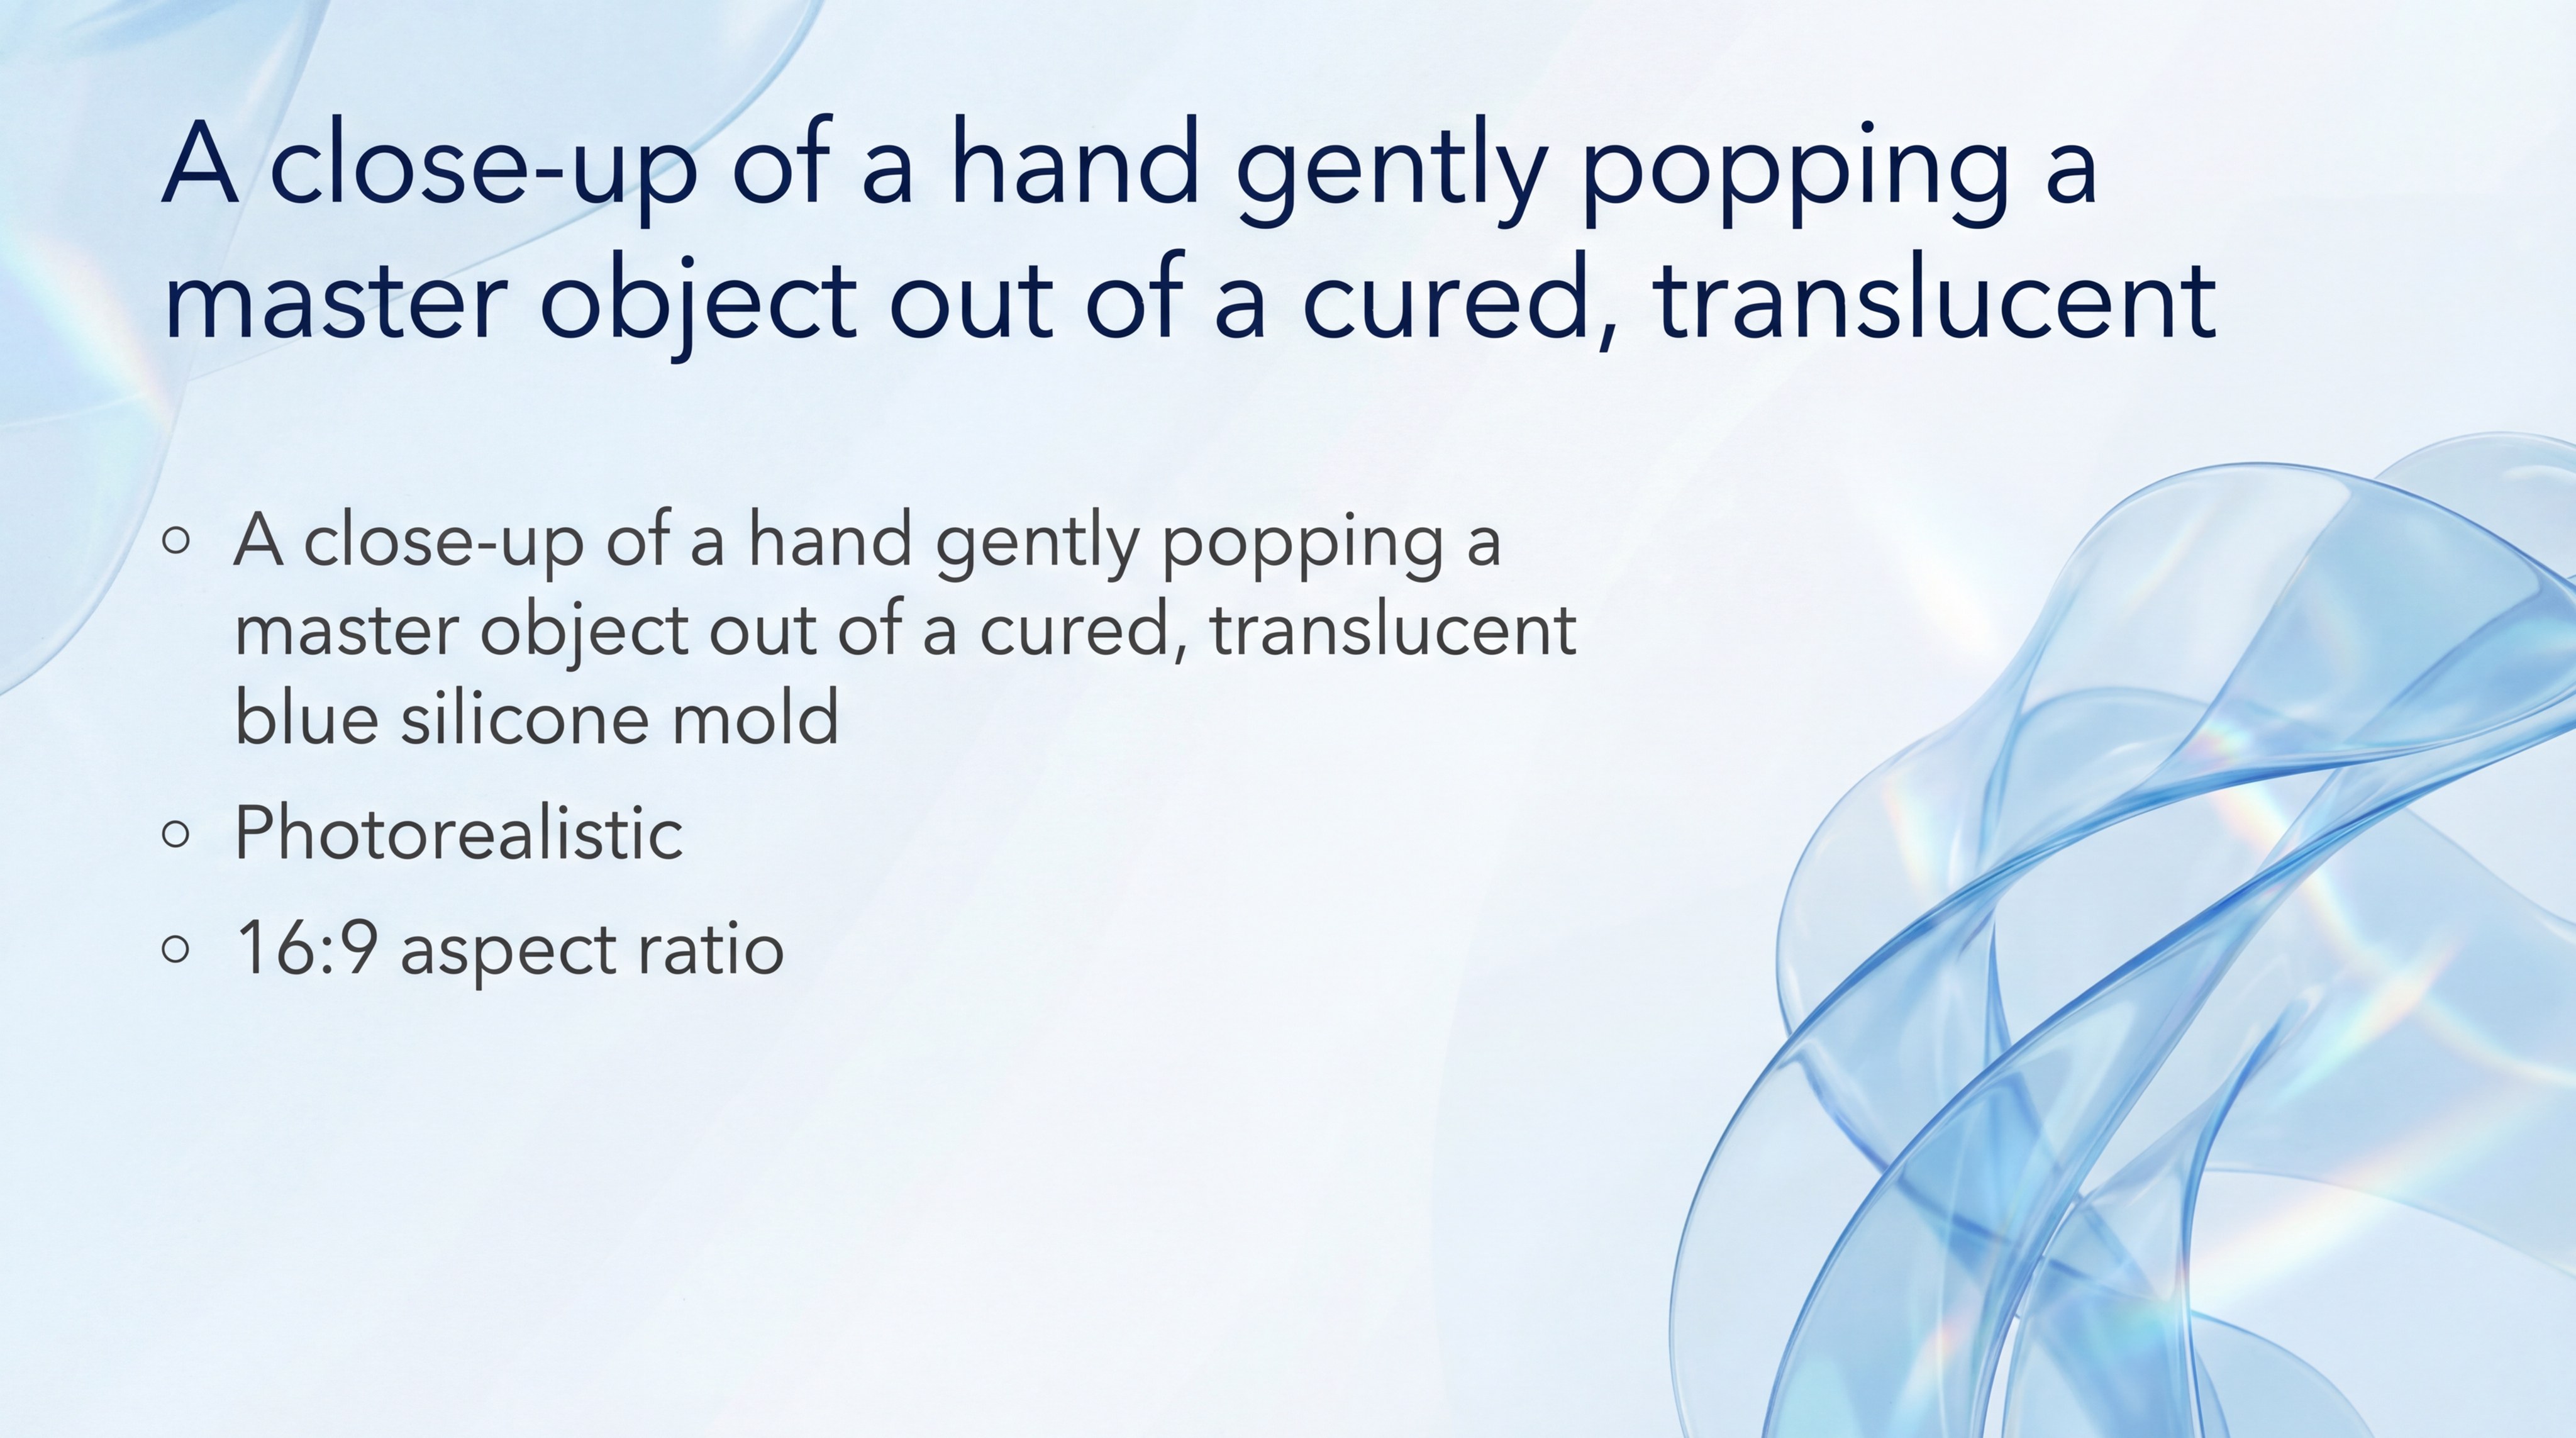
Demolding is the process of carefully stretching the silicone edges away from the master object to break the vacuum seal. In the context of how to make silicone molds, this is the most critical step for preserving the integrity of both the mold and the master. You should work from the edges toward the center, using gentle pressure to pop the object out of the flexible cavity.
Should you use a release agent for complex shapes?
You will find that most silicone sealants are naturally non-stick, but a light coating of mold release can help with intricate geometries. This is especially true if your master object is made of a porous material like wood or unsealed clay.
Check this out:
- Use a dedicated silicone release spray.
- Apply a very thin layer of petroleum jelly.
- Ensure the release agent is compatible with your resin.
What is the best way to pop out delicate master items?
You should flex the mold walls outward repeatedly to introduce air between the silicone and the object’s surface. This technique reduces the suction force that often holds delicate items in place and risks snapping them during removal.
You might be wondering:
Key Takeaway: Successful demolding relies on the inherent elasticity of the silicone and a methodical approach to breaking the surface tension.
| Object Type | Difficulty | Recommended Action |
|---|---|---|
| Smooth Plastic | Easy | Direct pop-out |
| Textured Metal | Medium | Wall flexing |
| Fragile Resin | High | Use release agent |
Taking your time during demolding prevents the formation of micro-tears that can ruin the mold for future reuse.
How Do You Care for and Reuse Your Silicone Molds?
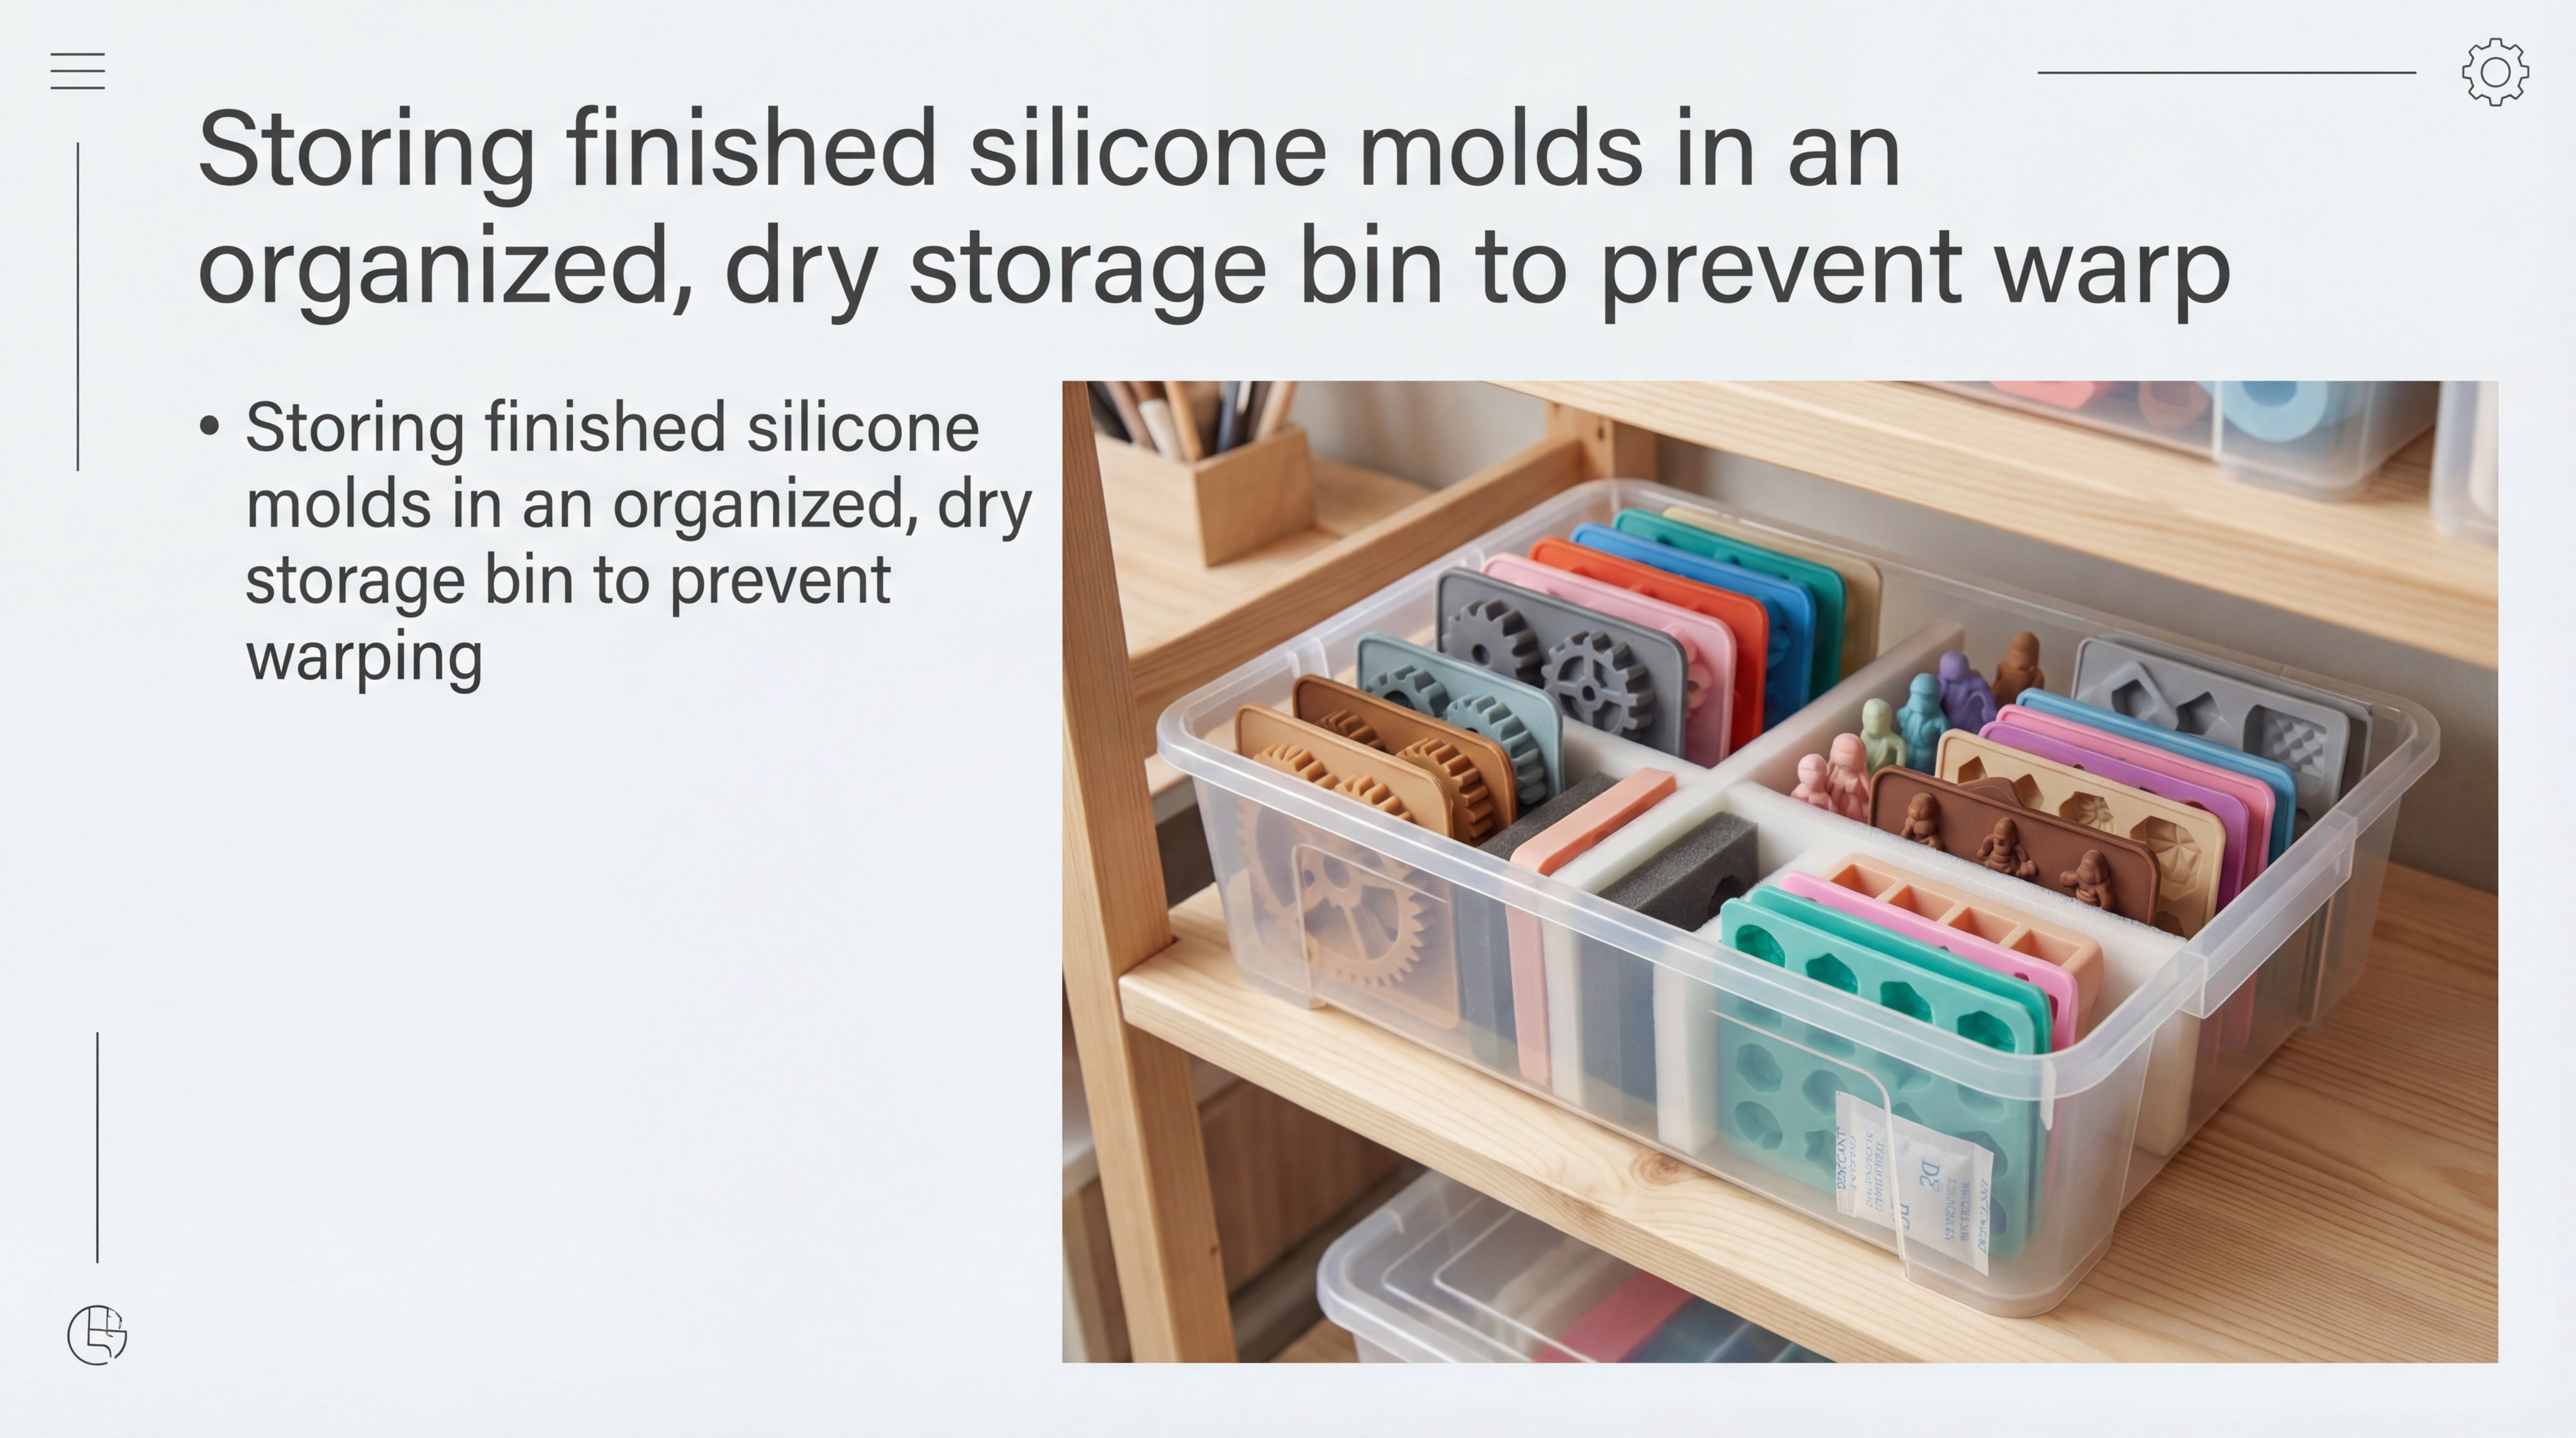
Proper care involves cleaning the mold after each use and storing it in a cool, dry place to prevent material degradation. When you understand how to make silicone molds, you realize that their lifespan depends on how well you manage the casting materials.